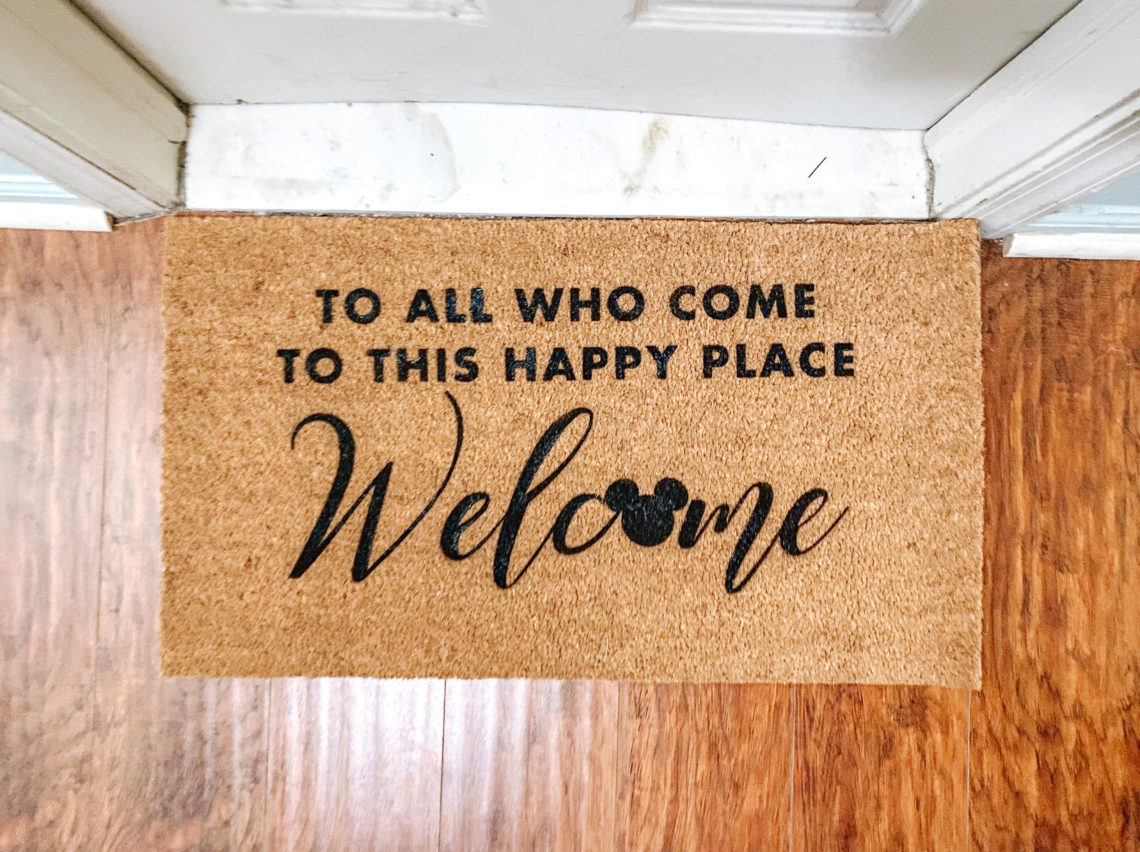
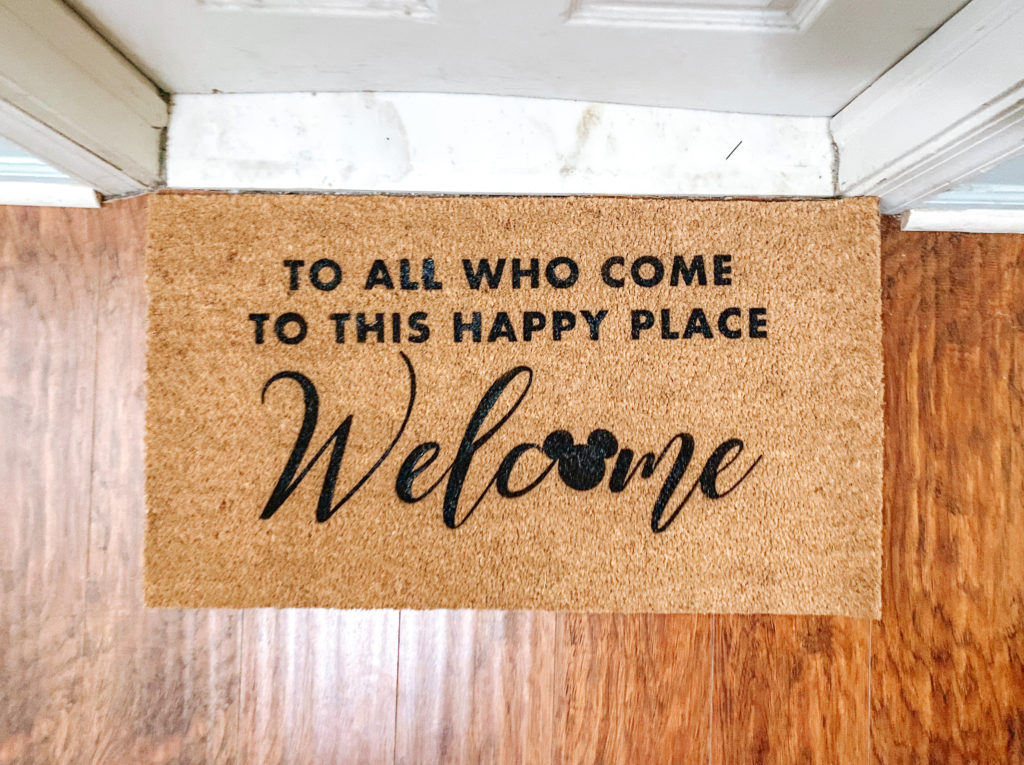
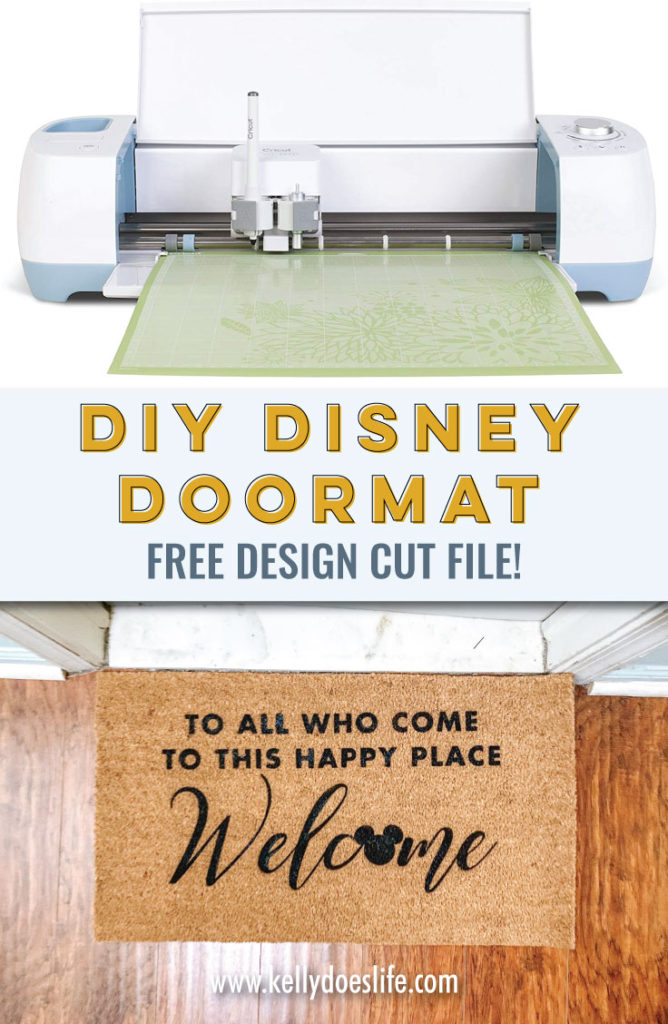
DIY Doormat – Using Your Cricut
I have been seeing more and more DIY Doormat projects made with Cricut lately. Finally I decided it was time to make my own. It wasn’t the easiest project that I have ever done, but part of that was user error on my end.
Here, we are going to go over the items you will need, basic steps, and tricks I learned along the way. I also included the design cut file that I made for this as well. You can download the zip file that will include an EPS, SVG, PNG, and JPG so you can make your very own mat!
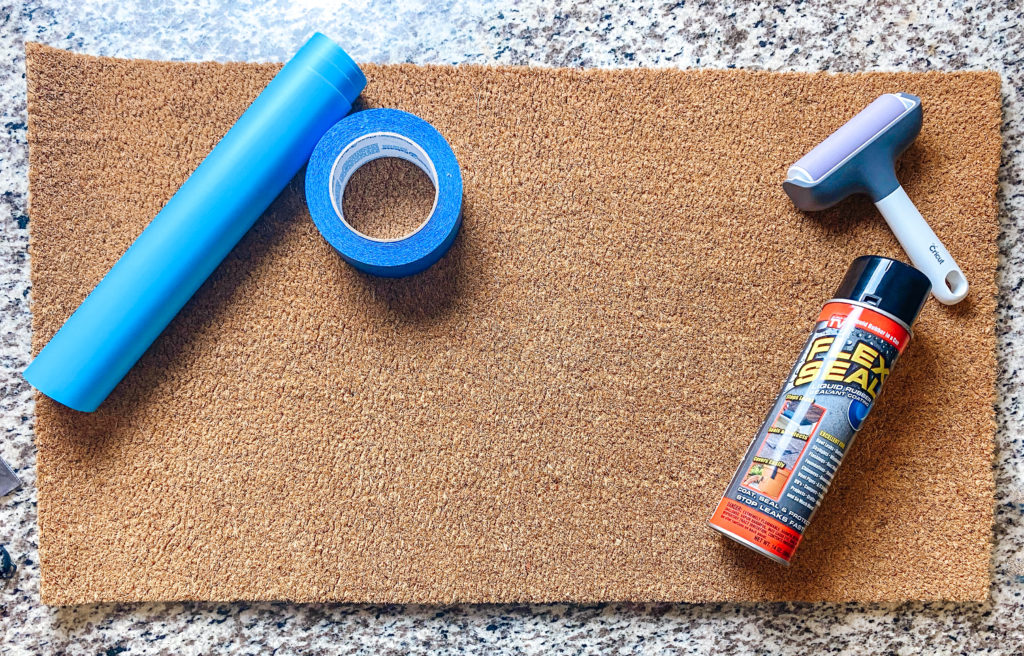
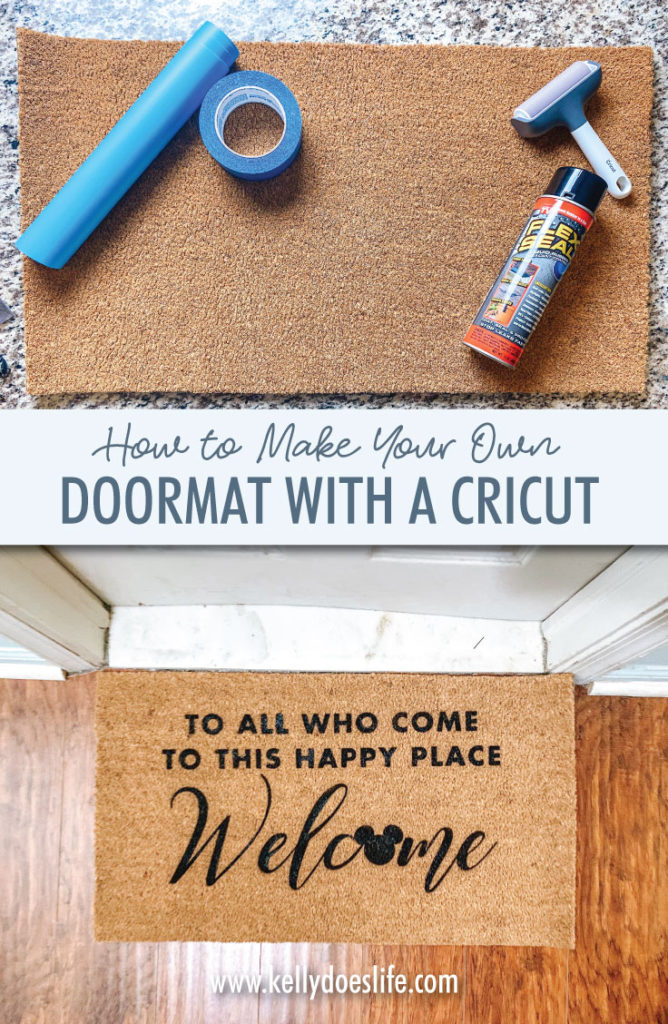
Supplies Needed:
- Doormat
- Cricut Machine – I have a Cricut Explore Air 2, but a Cricut Maker or Cricut Explore will also work!
- Oracal 813 – Stencil Vinyl
- Transfer Tape – Not super sticky! This is the kind I used, but this version is a bit cheaper and works well too
- Cricut Weeder (Optional, but helpful)
- Cricut Roller (Optional, but helpful)
- Large Cricut Mat
- Painter’s Tape
- Flex Seal Black
Directions
- Upload the design you would like to use. I have included the design I made for this project here!
- Resize the image. Cricut can only cut 11.5″ x 23.5″.
Tip: Be aware the closer the cuts are to the edge, you will need to extra careful about the tape since there will be less vinyl to cover. - Send design to cut with the cut setting as vinyl.
- Carefully lay out your vinyl on the mat. I like to use the roller to get out any bubbles. They tend to show up a lot more when you are using such a large piece of vinyl.
- Load your mat into your Cricut. Make sure there is plenty of space behind your machine since the mat will need to feed through it for such a large design.
- Begin cutting.
- Once your design is cut, unload your mat and lay it out on a flat surface.
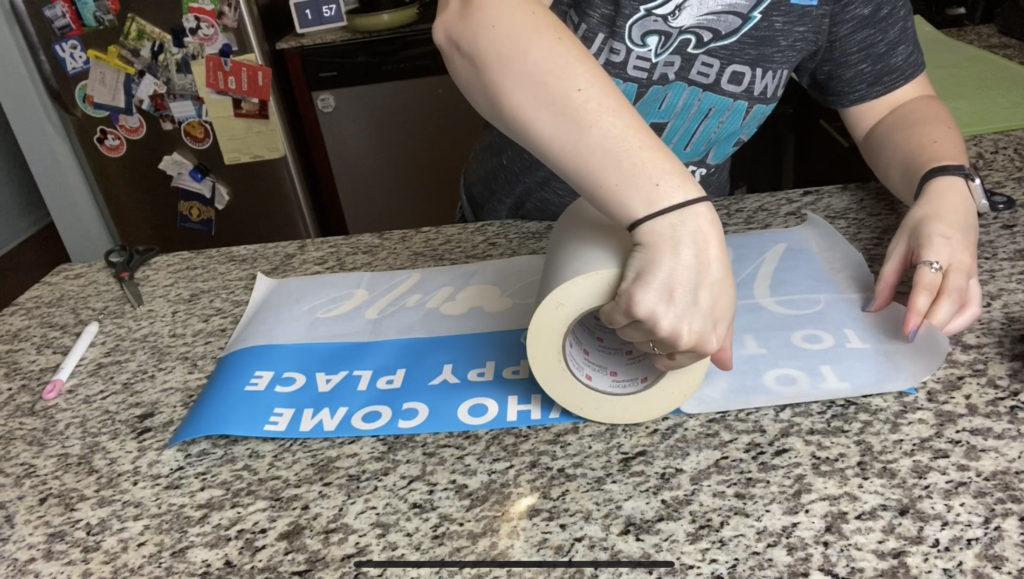
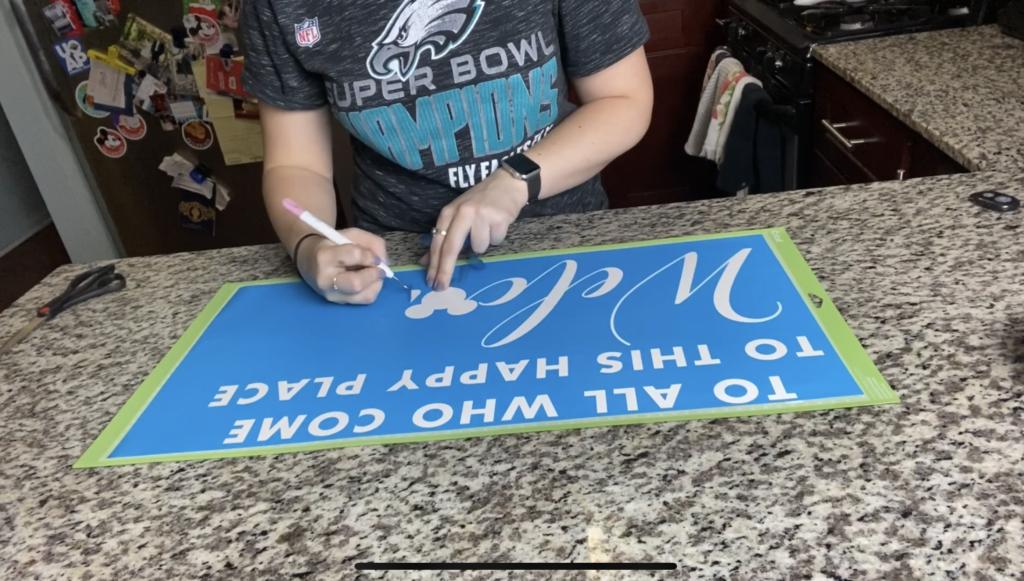
- You can now weed your design. I find it easier to remove it from the mat, but some people prefer to weed first. There isn’t necessarily a right or wrong way for this type of project.
Weeding is removing the pieces of vinyl you want out of your design. In this case, you will be removing the words and leaving the outline. - Once your design is completed weeded and removed from the mat it is time to use the transfer tape. Make sure your transfer tape is not super sticky or the upcoming steps will be significantly more difficult than they need to be.
- After I have the transfer tape covering my design, I like to use the roller again to make sure it adhered completely and all of the bubbles are out.
- Before you start the next step make sure you have your doormat out and ready to get the design. Also, have the painter’s tape handy as well.
- Once the transfer tape is completely covering the design, flip the design over so that the tape is on the table and the backing of the vinyl is facing up. You want to carefully remove the backing from the vinyl.
- It is time to place your design on the mat. You can measure out on the mat where you would like it first or you can simply eyeball it, that is up to you. Place your design where you would like it on to the mat and try to push down as much as possible. You’ll notice it doesn’t really stick. This is what makes the next step somewhat frustrating.
- Take a deep breath and pray for patience on this next step because it can be difficult. You have to remove the transfer tape off your vinyl design and have the design placed/stick to the mat. This is why you don’t want super sticky transfer tape because it will make this much harder.
Tip: Once you remove the first bit of transfer tape, use the painter’s tape to tape down the vinyl so it stays in place. This is easier if you have a second set of hands so you don’t have to stop, but you can do it on your own. - After the transfer tape has been removed and your vinyl is placed on your mat, use the painter’s tape to tape down the rest of the vinyl. You do not need to cover the entire mat with painter’s tape, just the edges that could be sprayed with the paint.
- Once your painter’s tape is down, you are ready to apply the paint. Some people like to use a hairdryer with a focused nozzle to help the vinyl stick more to the mat. However, I tried this method and it ended up blowing my smaller pieces around the room and caused me to yell a lot. You can do this step, but I don’t recommend it and I didn’t find it necessary.
- Take your Flex Seal spray and follow the instructions. I like to test it in a cardboard box first so I know the intensity of the spray and how wide it will spray. Once you start to spray your design, I found it easier to work in smaller sections to focus on one area at a time. Try to get a view from directly above to check that the paint is even throughout the design. You may have to go over some areas twice.
- Once you have completed painting, grab a paper towel and have a trashcan nearby. The Flex-Seal paint is made for outdoor use so it can stick on your hands for a while and you will get messy in this next step.
- Carefully remove the vinyl and painters type. Be sure that none of the excess paint touches your doormat because it is nearly impossible to remove if it does.
- Use the weeder and your fingers to remove the smaller pieces, like the middle of the O’s or E’s. I found this easier to do one at a time so I didn’t accidentally drop any on the doormat itself.
- Let the doormat dry completely, typically around 24-48 hours.
Tips for a DIY Doormat
- Wear clothes you don’t care about since the paint is fairly permanent.
- The hairdryer step isn’t as necessary as you might think.
- Start with a simpler design first instead of one a lot of intricate designs.
- You don’t need to use the Flex-Seal spray, you can use standard paint with other colors and then seal it after. However, they don’t last as long as just using the Flex-Seal itself.
- Standard permanent vinyl such as Oracal 651 works as well but tends to be trickier than the stencil type.
Have you tried this before? Have any questions about the process? Let me know below!!


You May Also Like
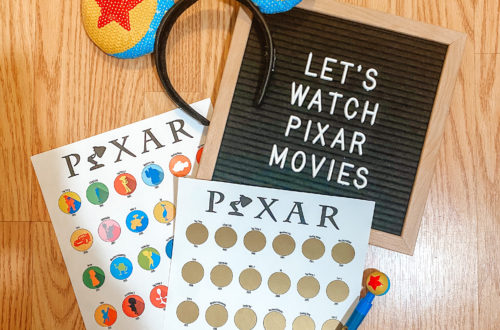
How to make a Pixar Movies Scratch-Off Poster
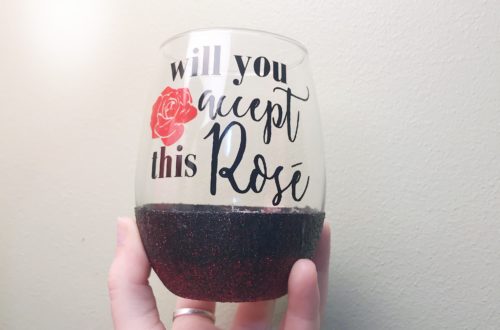
DIY Bachelor Glitter Wine Glass – Will You Accept This Rosé