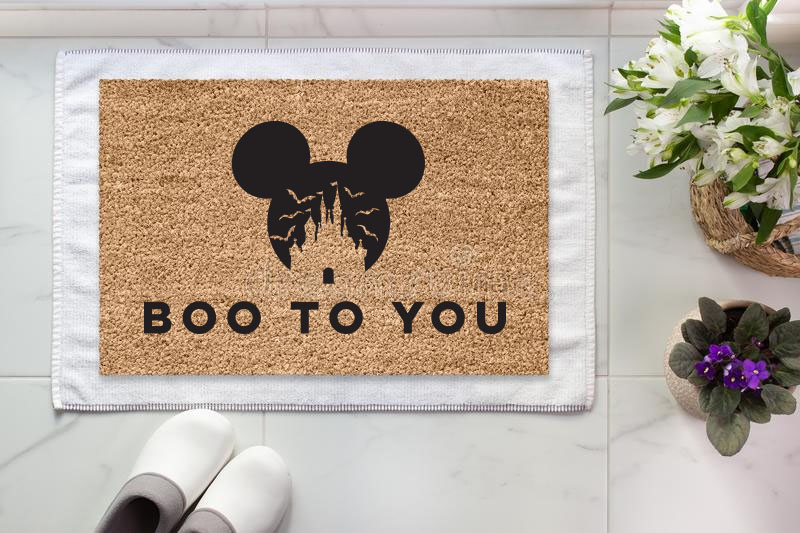
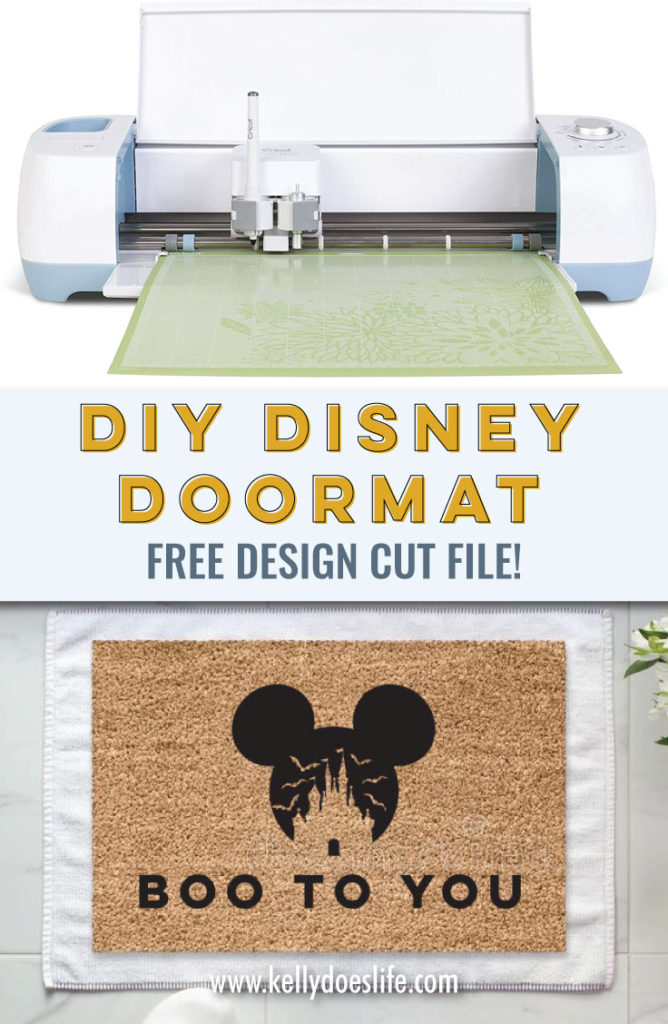
DIY Disney Halloween Doormat – Using Your Cricut
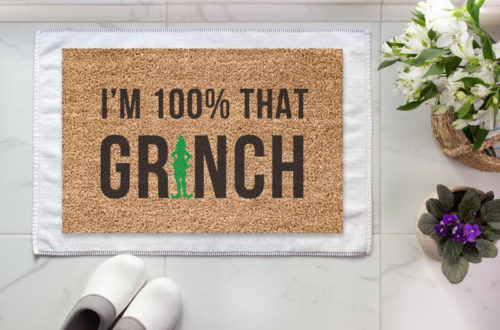
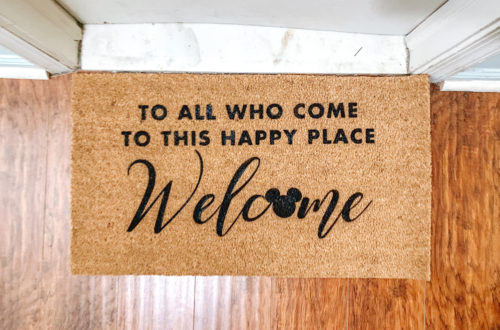
I have made a DIY Doormat before with a Walt Disney inspired quote. I decided since Disney’s Halloween looks a bit different this year, it makes sense to bring a little DIY Disney Halloween doormat magic to my own doorstep!
You can find a full tutorial here, but the items you need are listed below.
Supplies Needed:
- Doormat
- Cricut Machine – I have a Cricut Explore Air 2, but a Cricut Maker or Cricut Explore will also work!
- Oracal 813 – Stencil Vinyl
- Transfer Tape – Not super sticky! This is the kind I used, but this version is a bit cheaper and works well too
- Cricut Weeder (Optional, but helpful)
- Cricut Roller (Optional, but helpful)
- Large Cricut Mat
- Painter’s Tape
- Flex Seal Black
While I have a full tutorial on another post you can check out, here are a few tips I have learned from making doormats at home.
Tips for a DIY Doormat
- Wear clothes you don’t care about since the paint is fairly permanent.
- The hairdryer step isn’t as necessary as you might think.
- You can use a Cricut Easypress you secure the stencil vinyl a bit better, this is much less of a headache than the hairdryer.
- Start with a simpler design first instead of one a lot of intricate designs.
- You don’t need to use the Flex-Seal spray, you can use standard paint with other colors and then seal it after. However, they don’t last as long as just using the Flex-Seal itself.
- Standard permanent vinyl such as Oracal 651 works as well but tends to be trickier than the stencil type.
- The bats in this design can be hard to place as one, so if it is simpler you can place them where you want by hand instead! You can still secure them in place with the Cricut Easypress tool, but don’t get trusted if you have an issue with them and the transfer tape. I found it easier to just put them down later.
Boo to You File
Here you will find a zip file with a JPG, PNG, SVG, and EPS file to help you make your very own Boo to You Disney Halloween Mat!


You May Also Like
DIY Doormat – Using Your Cricut

How to Make Disney Princess Glitter Wine Glasses