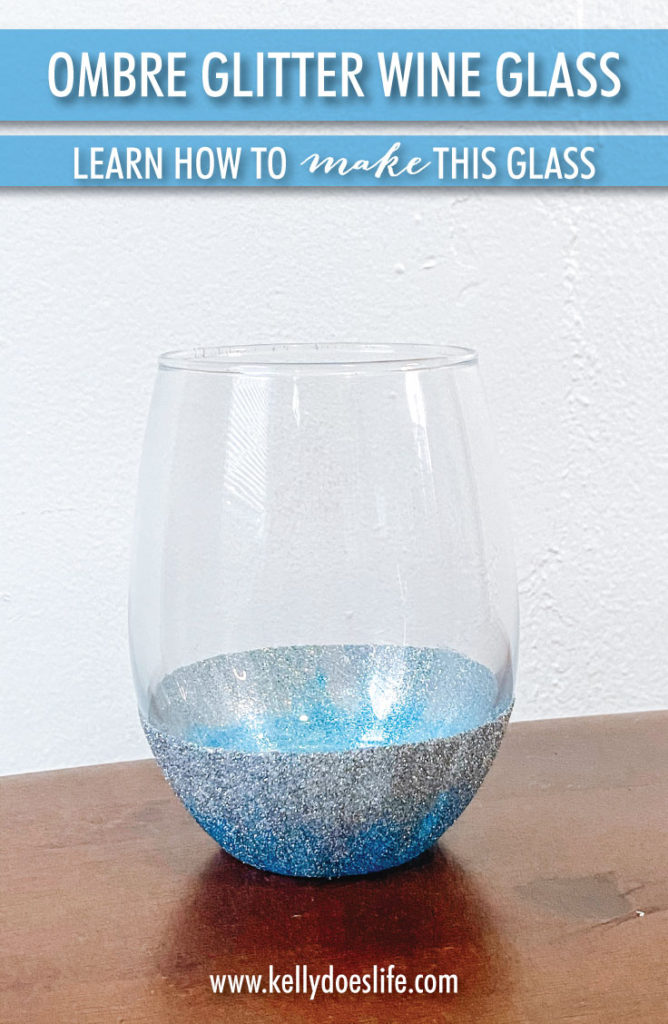
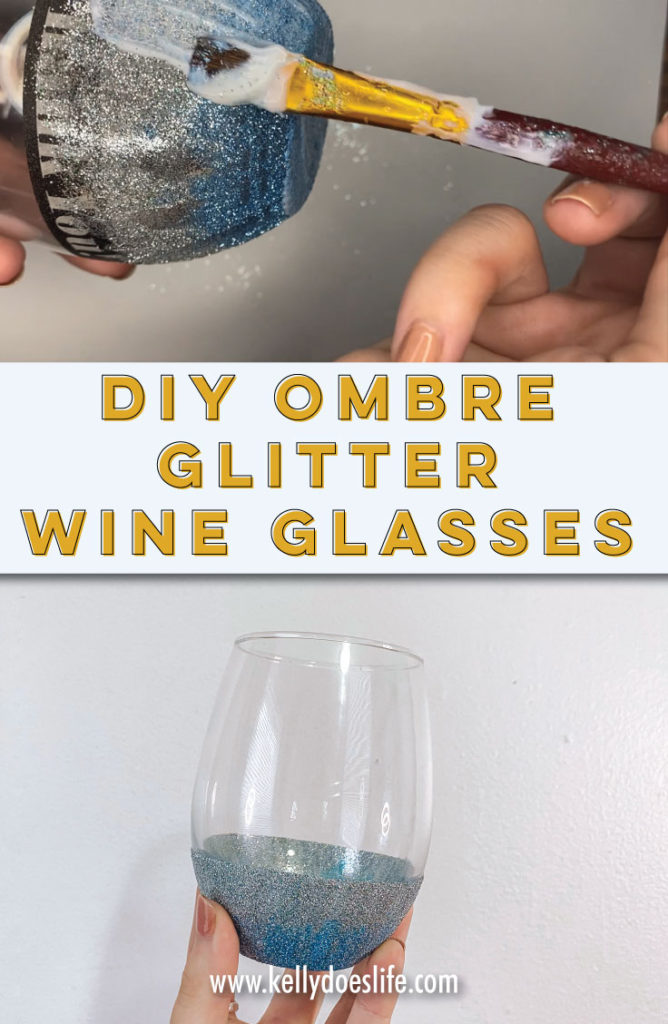
How to DIY Ombre Glitter Wine Glasses – Complete Tutorial
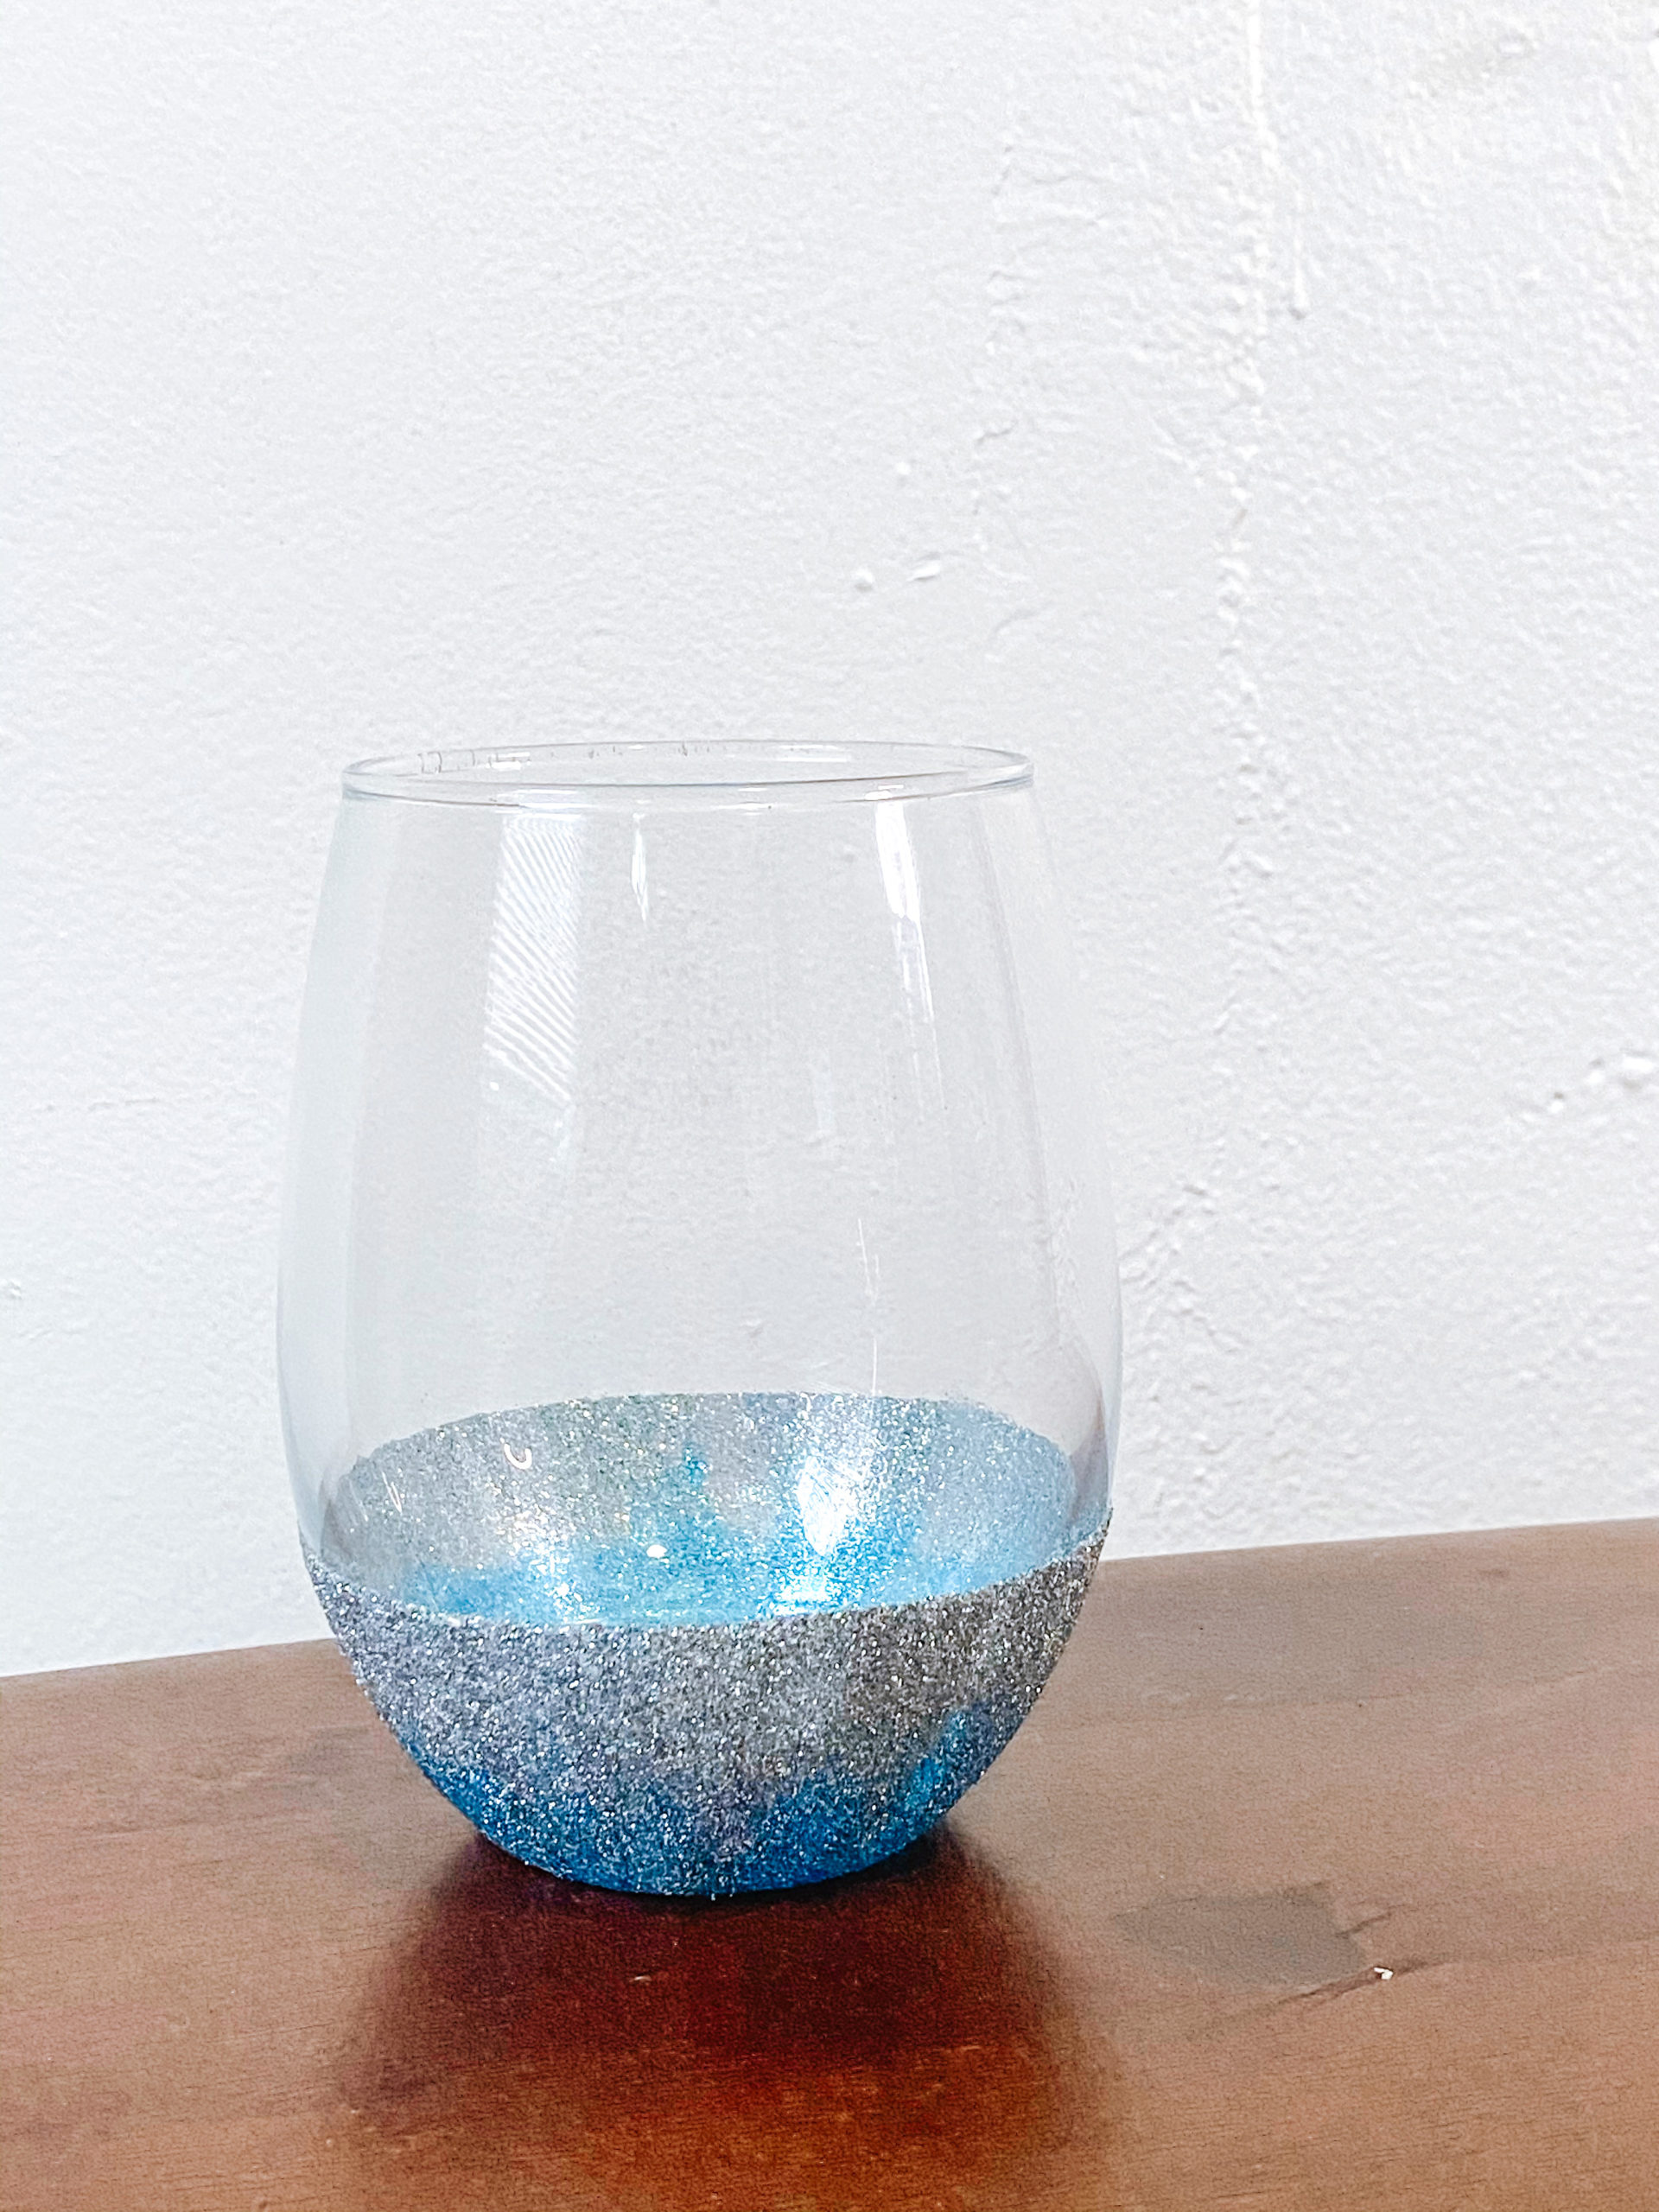
DIY Ombre Glitter Wine Glasses are actually much simpler than they seem and can be used in a variety of ways. It is almost the same technique and steps you would use if you just wanted one color glitter. You can keep it simple with no added design, personalize them with a name, add a cute quote, or more!
I actually like to make them ombre! It only takes one extra step, but the results are beautiful. Either way, here is what you would need to make DIY Ombre Glitter Wine Glasses.
Want to learn how to do this with a Disney touch? Make any Disney Princess come to life with the Disney Princess Wine Glass tutorial!
Materials:
-
- Wine Glasses – I prefer the stemless type, but stemmed work as well!
- Dishwasher Safe Mod Podge
- Extra Fine Glitter, whatever color(s) you want
- Paintbrush or foam brush (personally I prefer a regular paint brush)
- Marker
- Washi Tape or painter’s tape
Steps
-
- To make sure you have a straight edge for the tape, decide how far up you’d like the glitter to go and use a flat surface to mark it with tiny dots using the marker. I typically rest the marker on top of two DVD cases and make four dots around the glass.
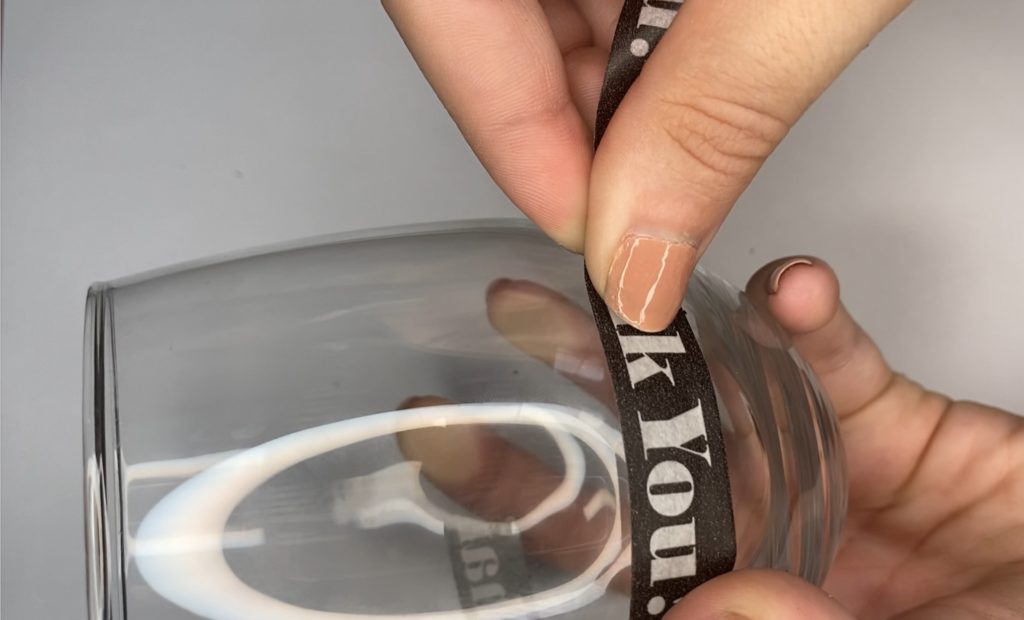
- Place the tape on the glass connecting the dots to seal it off. Make sure to press down on the tape after to have it sealed against the glass.
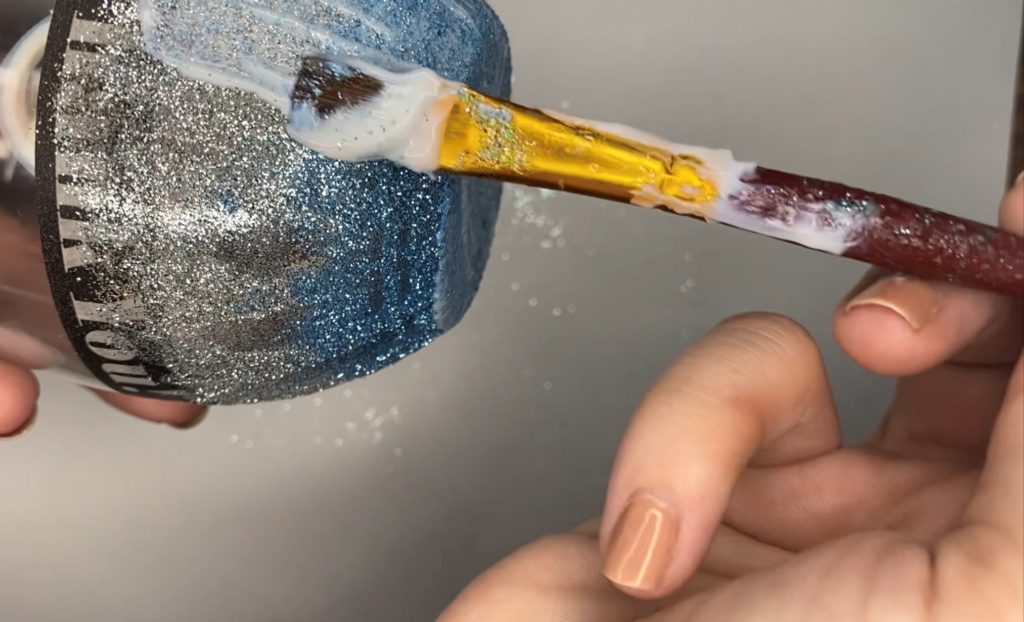
- Take your brush and mod podge and paint the area where you would like to have glitter.
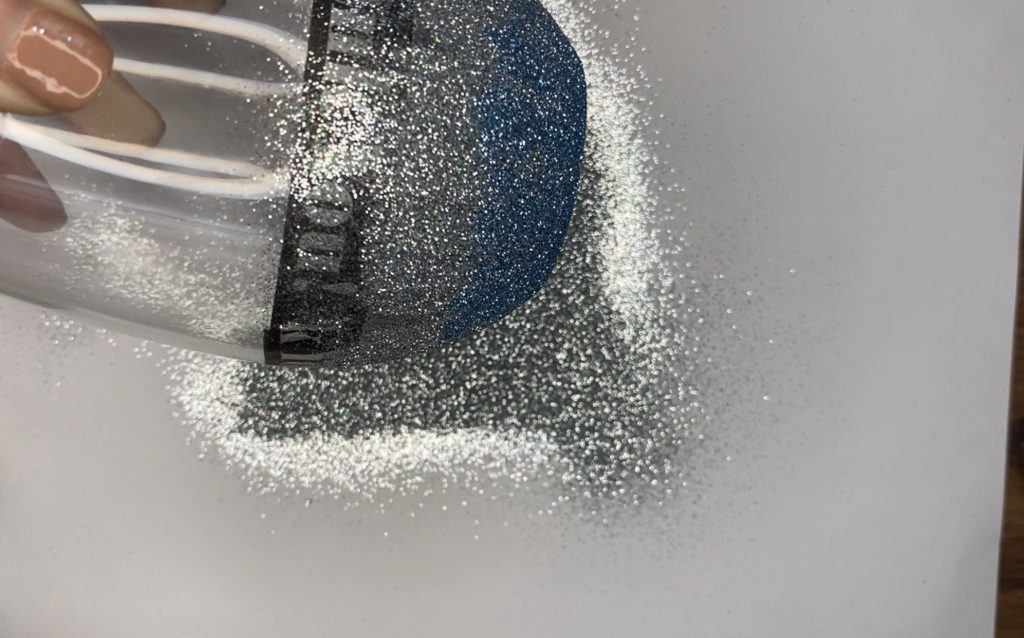
- Select the glitter you would like and begin to lightly pour over the glass onto a piece of paper, paper plate, etc. to catch the excess glitter.
- Optional – If you want to do an ombre look, pour glitter on the bottom of the glass first and work your way up, but stop about halfway between the bottom of the glass and where your tape begins. Leave that extra for the second color.
- Optional – Add the second color if you are doing an ombre look.
- Place the glass to the side upside down and allow it to dry for at least an hour. I would typically let them sit longer, but leaving an hour in between didn’t make a difference.
- Repeat steps #4-6. Mod podge over the glitter and reapply more glitter in the areas you want it. As you paint the mod podge over, you’ll notice the paintbrush moves the glitter to blend the two colors more.
- Before you place the glass upside down, carefully remove the tape. I recommend doing this directly over a trashcan because the glitter will go everywhere.
- Once the tape is removed, place the glass upside down again to let dry.
- You will now add the sealing coats to the glitter. Go over all of the glitter carefully with mod podge. Let dry again.
- Go over the glitter one final time and let dry. I like to do the two coats to make sure it is completely sealed, but also the final sealed product is a little smoother with two coats.
Where to Buy Blank Wine Glasses
Depending on how many you plan to make, or the types, here are a few of my favorite wine glasses to buy.
-
- 12 Stemless Wine Glasses – These are great if you’re making them for bulk gifts like a wedding.
- Dollar Tree Stemless Wine Glass – These are 21 ounces, so they are on the larger side and stock may vary at your local Dollar Tree. However, they are great if you just need to make one.
- Colored Stemless Wine Glasses – You can add a bit more flare between the glittered glass when the glass itself is already colored.
- Ikea Stemmed Wine Glasses – These are on Amazon, but are from Ikea. If you live near an Ikea you can pick them up individually or as a set of 6. Inexpensive, but still good quality!
Tips for DIY Glitter Wine Glasses
-
- The glitter can be any brand. I prefer Extra Fine Recollections Glitter from Michael’s or Darice which can be found on Amazon. However, the most important thing is that it is extra fine glitter. If you want to try it with chunkier glitter, the ombre becomes much more difficult and it doesn’t cover as easily.
- I prefer the Dishwasher Safe Mod Podge because of how it finishes and smooths over the glitter. You can use the regular mod podge if that is what you have!
- Even though it says it is dishwasher safe after 28 days, I have personally never felt comfortable washing it in the dishwasher. Plus, who lets a craft sit for 28 days?!
- If you are doing multiples at once, still mod podge and glitter one glass at a time. The mod podge can dry while you are working on another glass before you place the glitter and you’ll have to start over.
- If some of the glitter comes off when you remove the tape, do not panic. You can simply touch up that area by painting more mod podge and pouring more glitter before you put on the sealing coats.
- Be sure to sprinkle the glitter over top of a piece of paper or paper plate so you can pour the excess back into the container. It is a crafting crime to waste glitter obviously.


You May Also Like
DIY Nightmare Before Christmas Doormat – Using Your Cricut
DIY Doormat – Using Your Cricut