
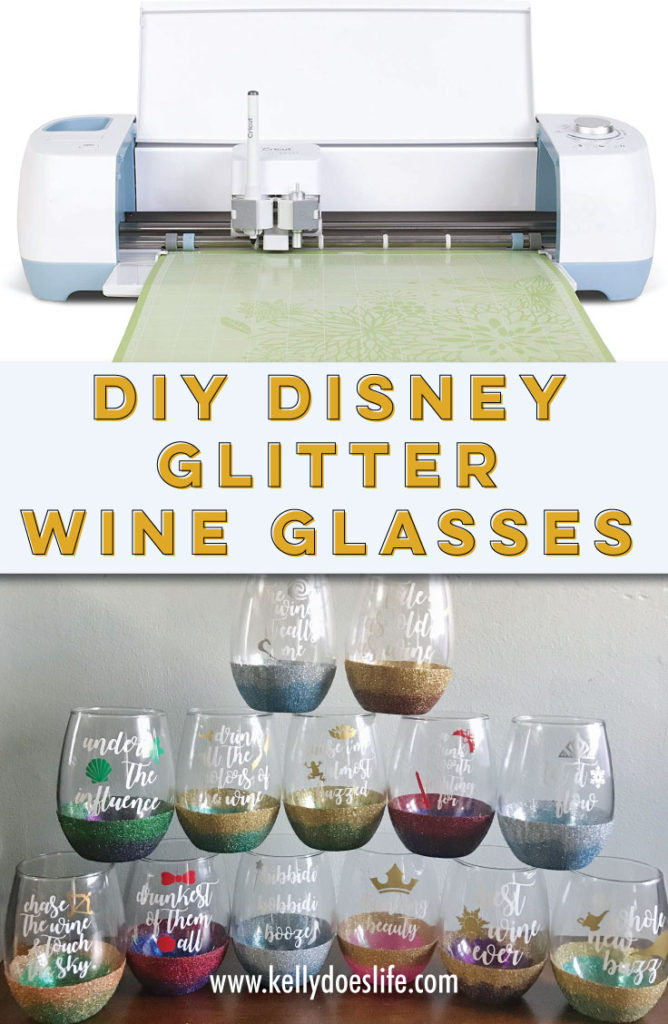
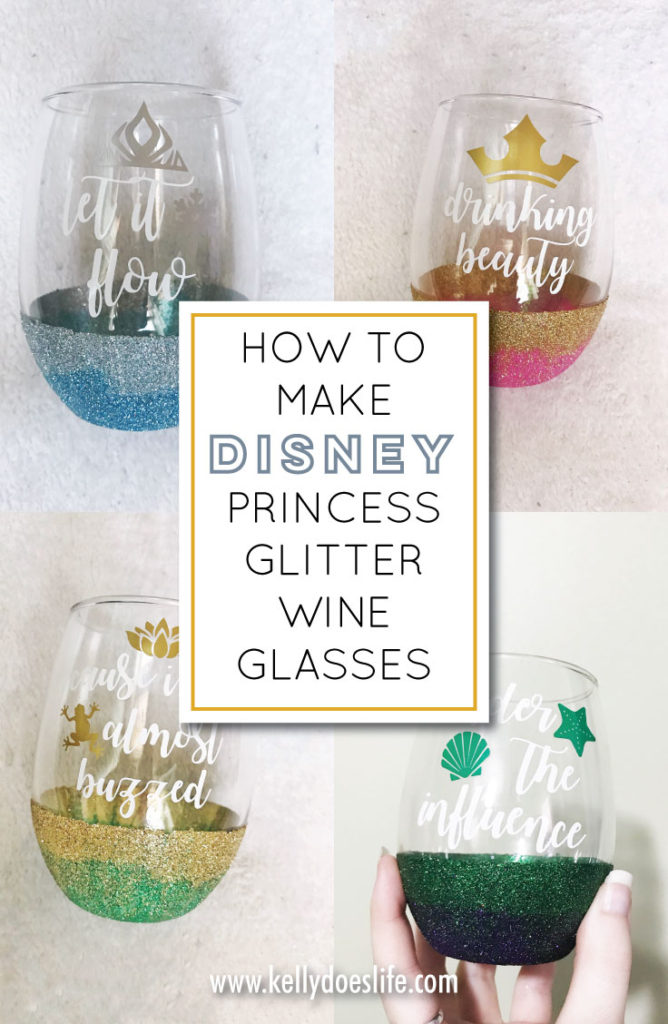
How to Make Disney Princess Glitter Wine Glasses
Are you a fan of wine and Disney Princesses? Well making some Disney Princess Glitter Wine Glasses are a fun and simple DIY to bring a bit of magic to your home. All you really need is some glitter, mod podge, and a wine glass and you are good to go!
About the Glitter
I personally use Recollections Extra Fine Glitter, but the most important thing is that it is extra fine glitter. If you do not live near a Michael’s or would prefer to simply get everything off Amazon, I have also included links to my suggested colors for glitter!
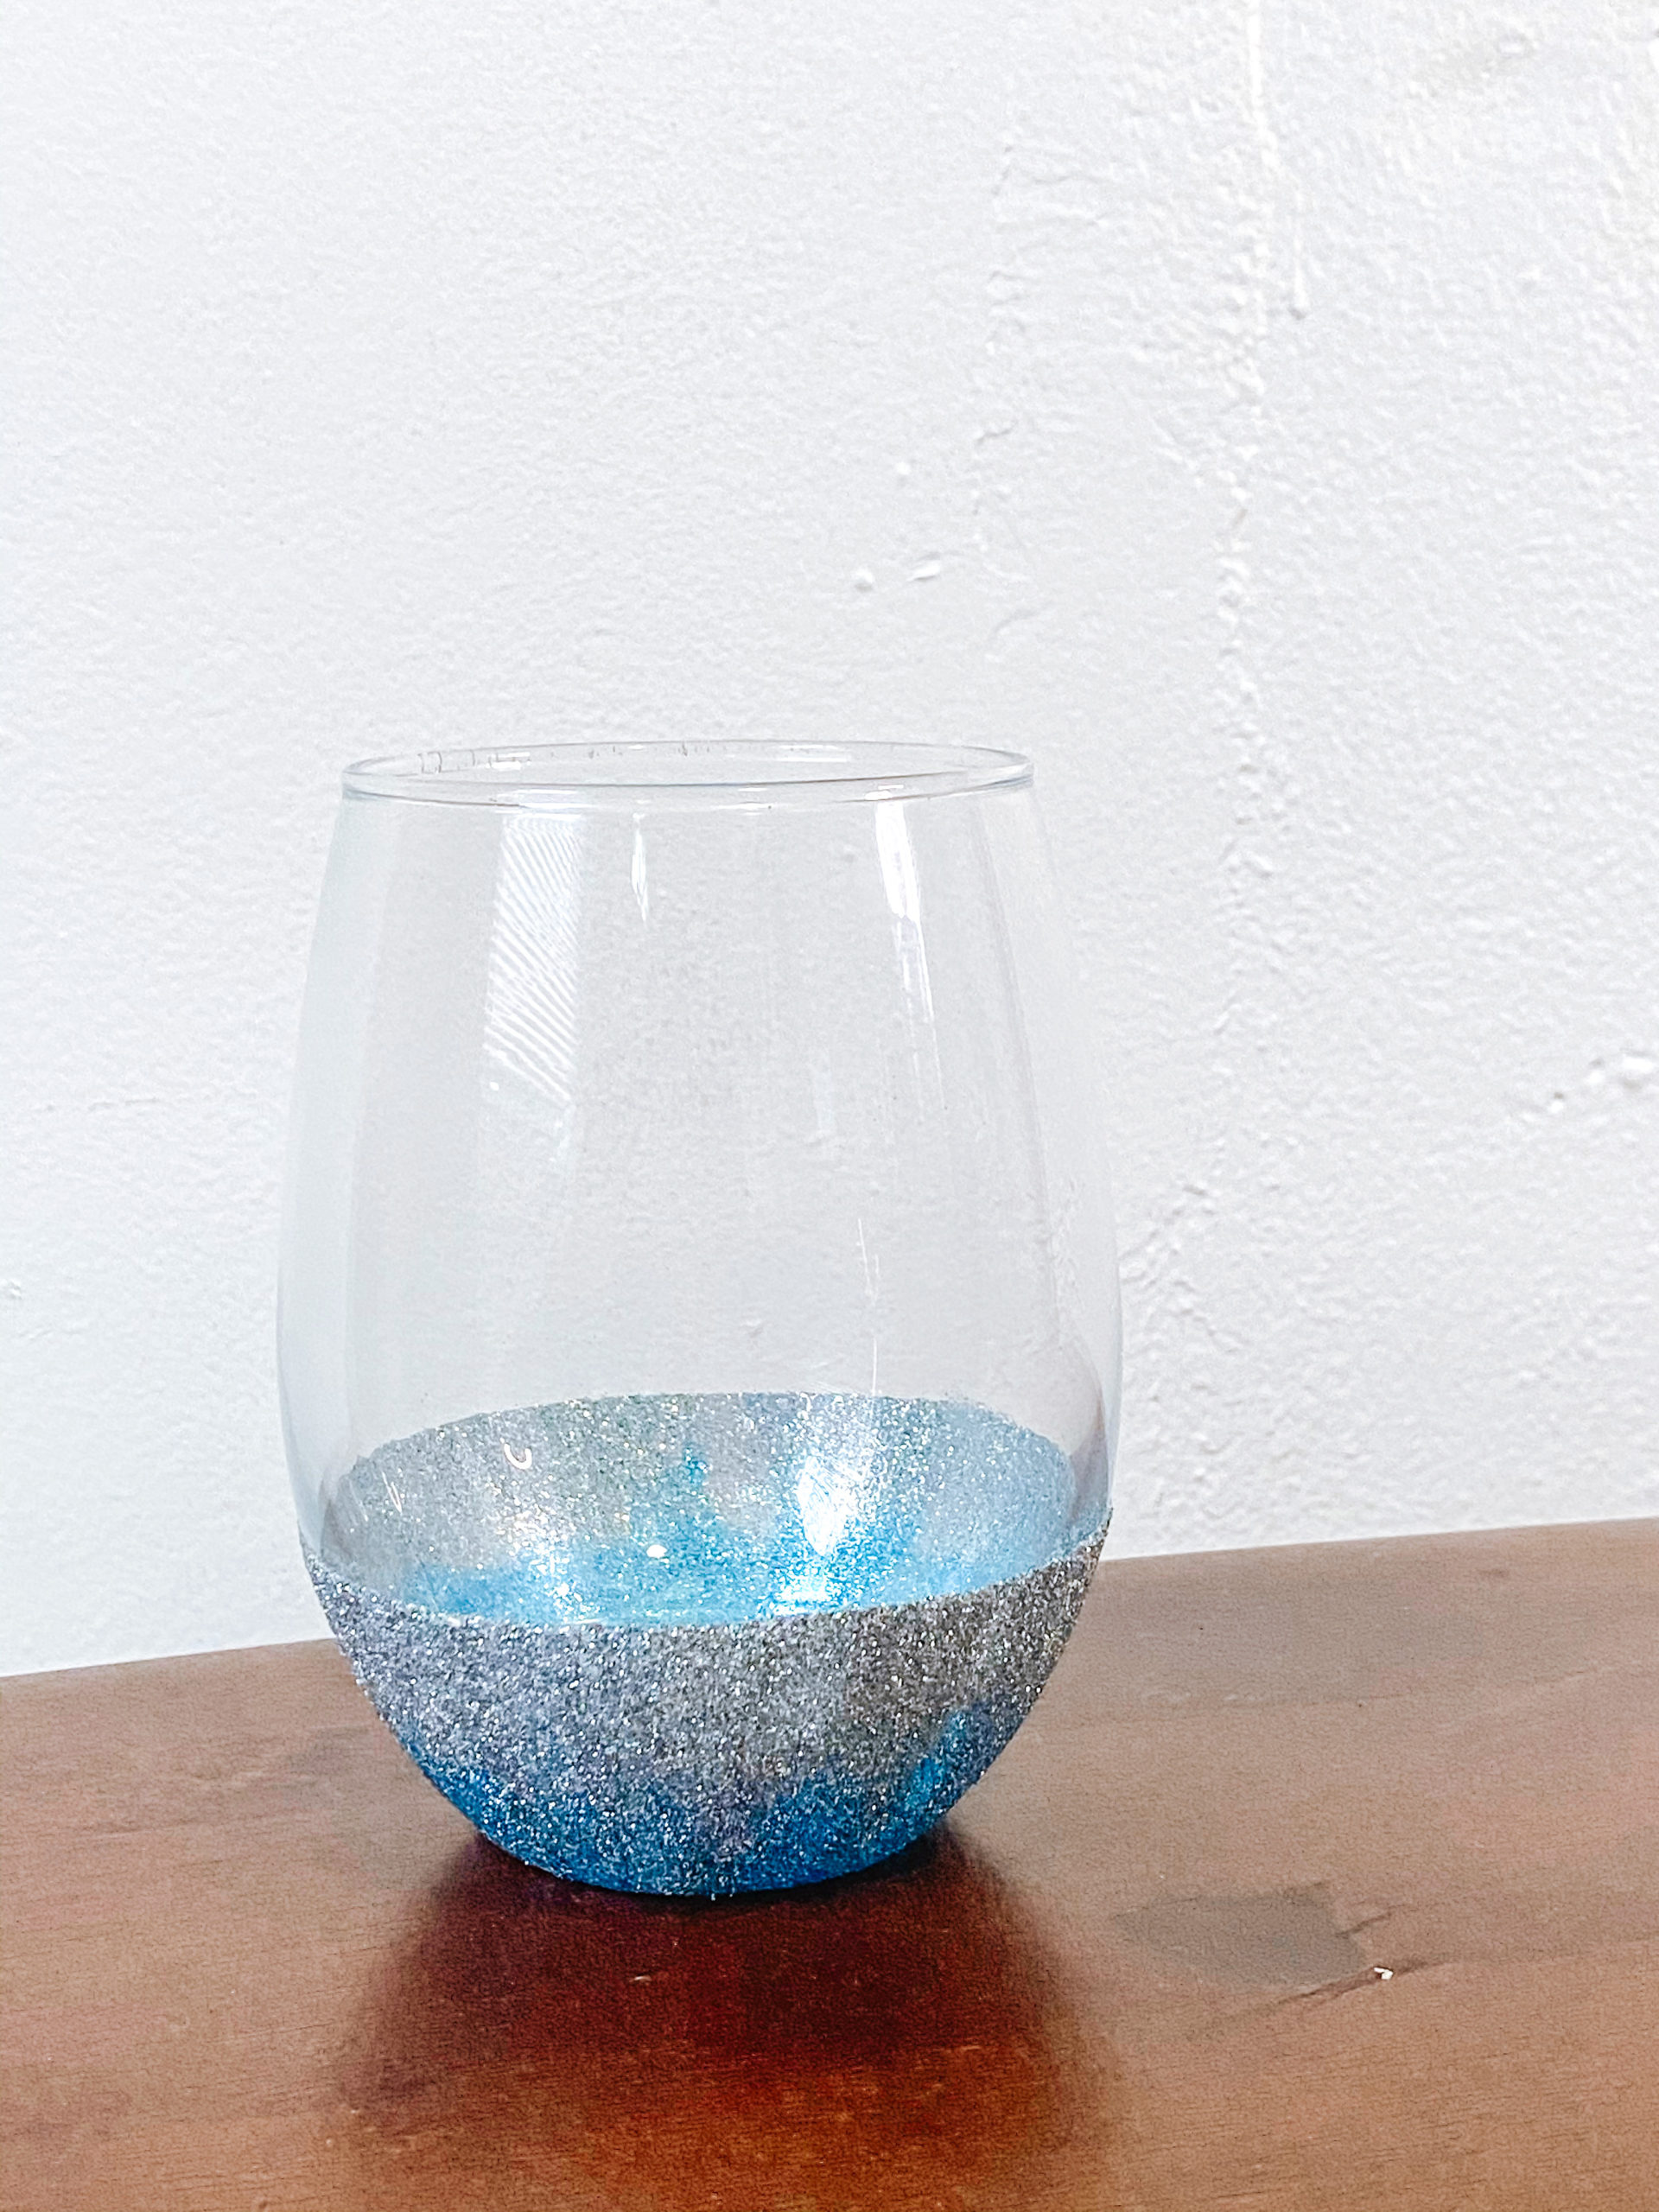
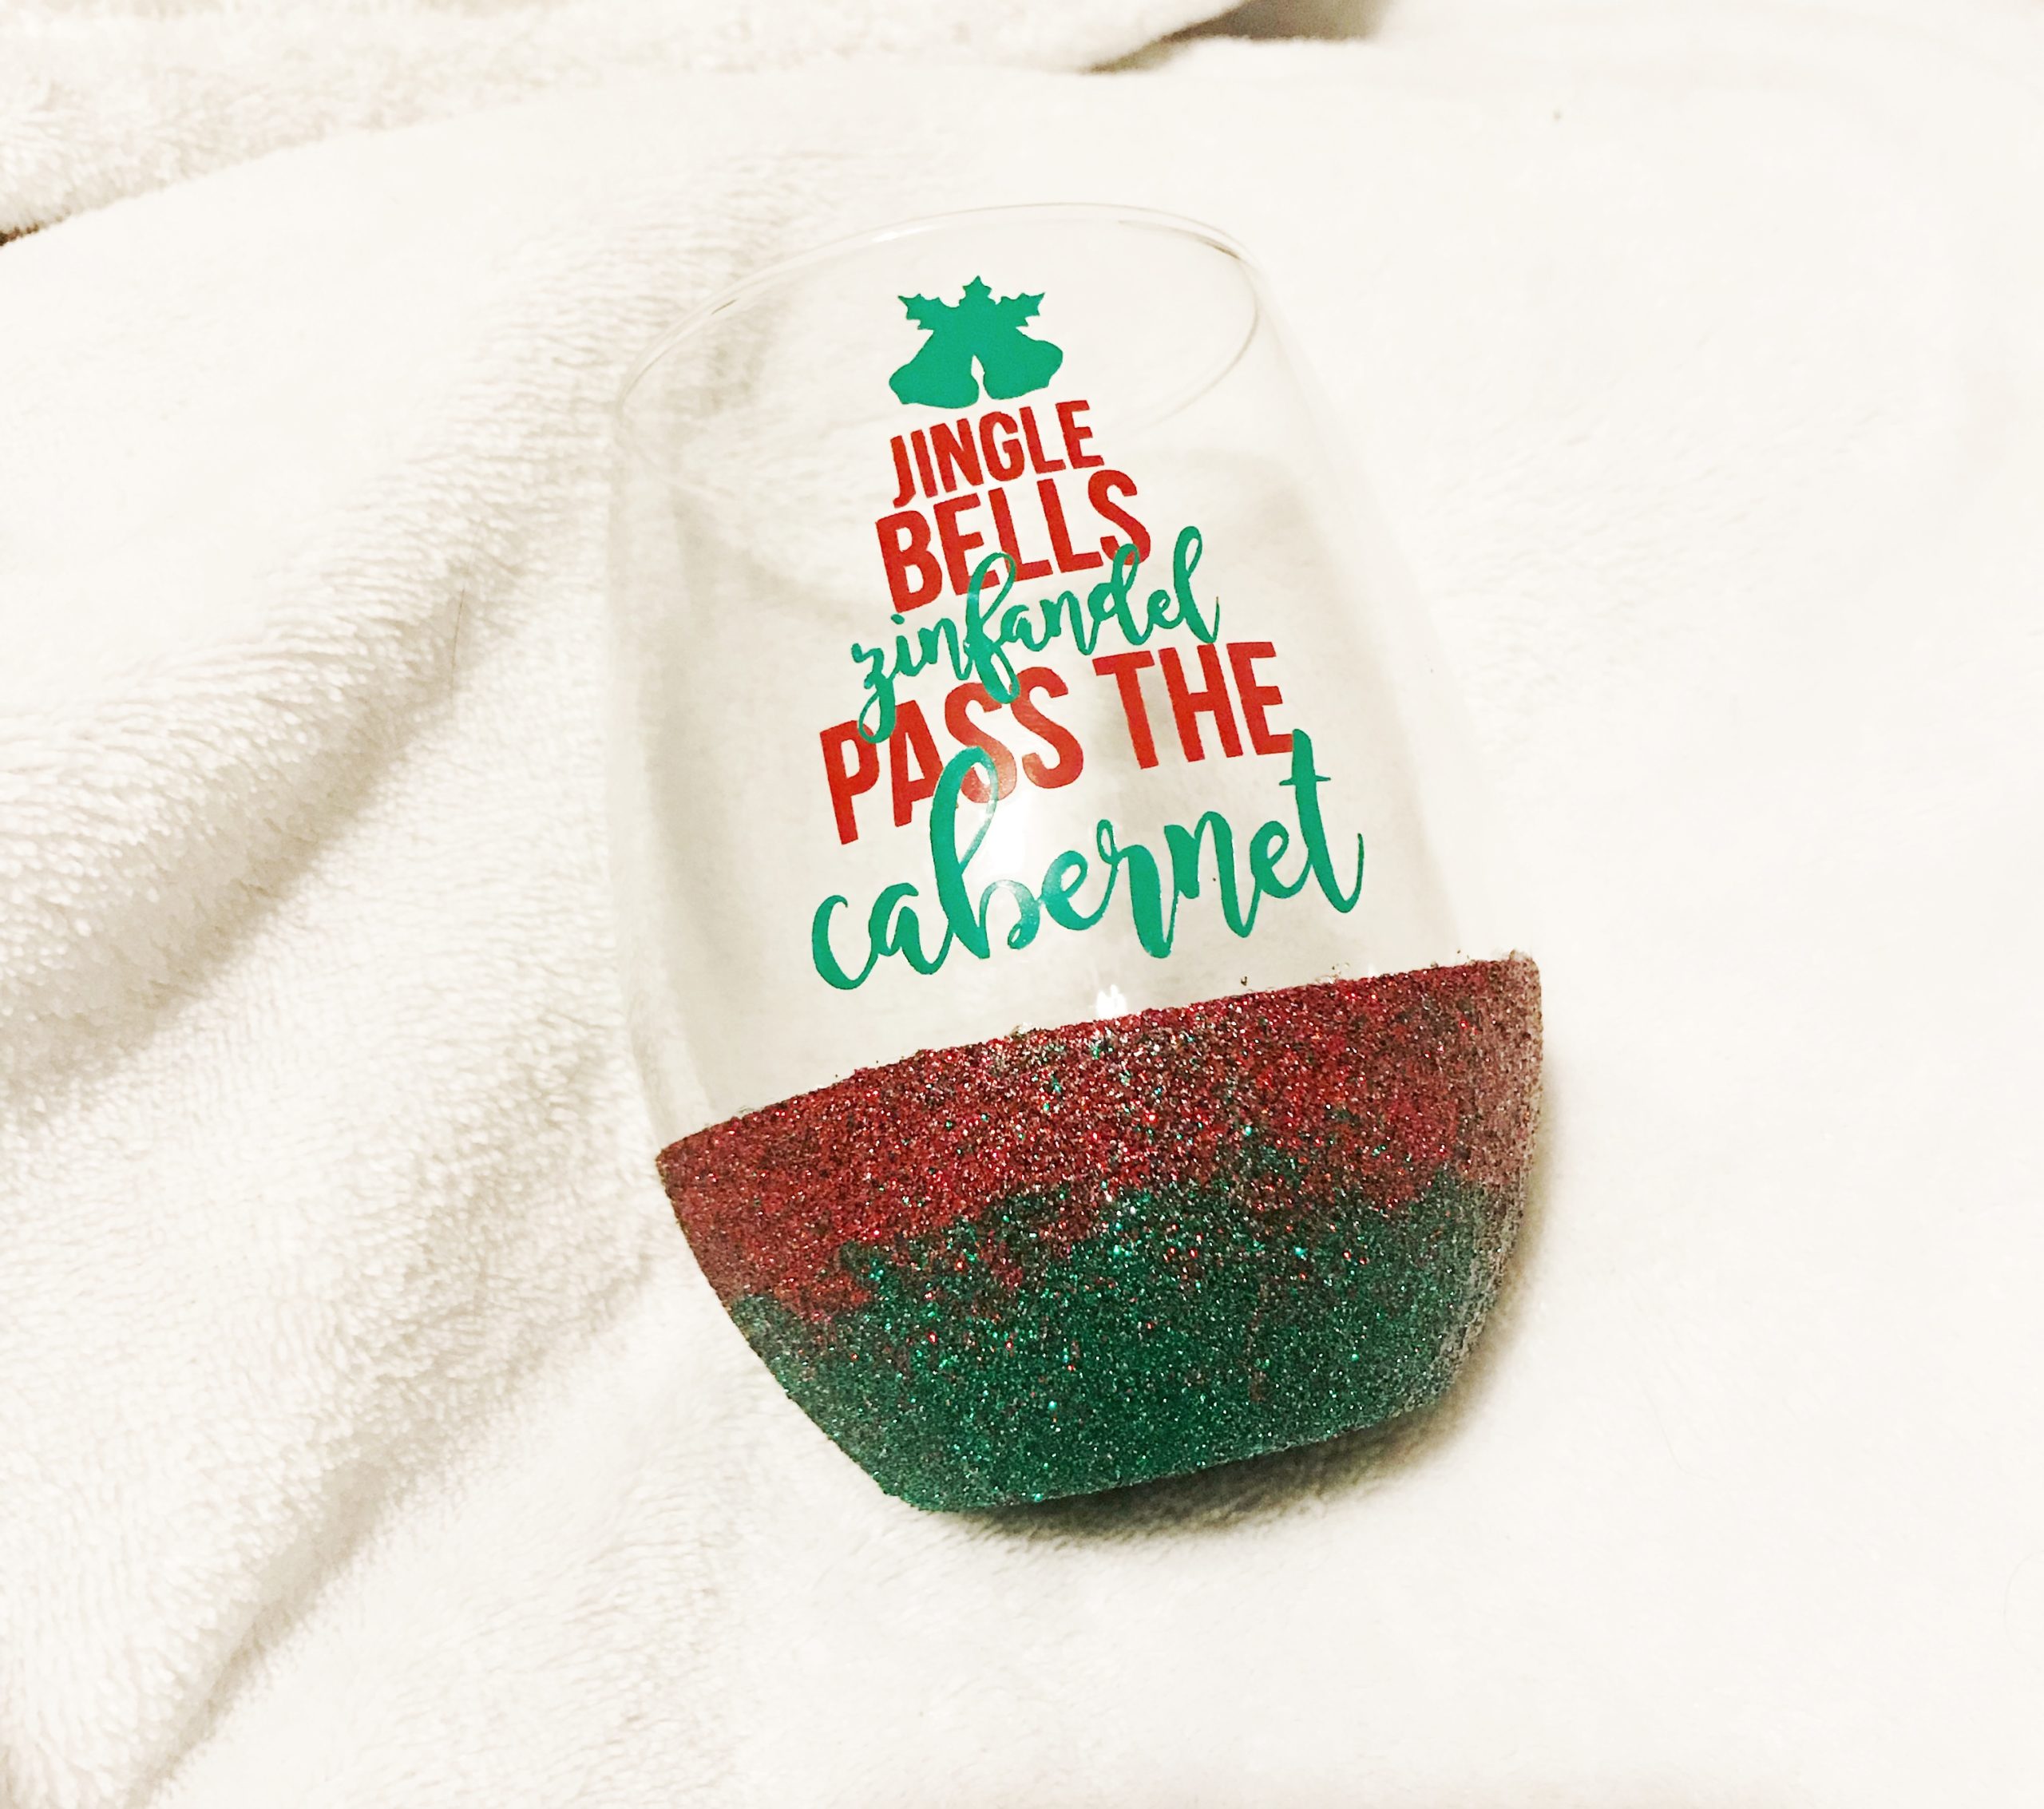
How to Create an Ombre Effect for Glitter Wine Glasses
I made a separate post about how to make glitter wine glasses, specifically how to seal them properly and using two different types of glitter. You’ll find full tips and instructions here. Below, however, you’ll find the basic steps you should follow to create a nice ombre effect.
Steps
-
- To make sure you have a straight edge for the tape, decide how far up you’d like the glitter to go and use a flat surface to mark it with tiny dots using the marker. I typically rest the marker on top of two DVD cases and make four dots around the glass.
- Place the tape on the glass connecting the dots to seal it off. Make sure to press down on the tape after to have it sealed against the glass.
- Take your brush and mod podge and paint the area where you would like to have glitter.
- Select the glitter you would like and begin to lightly pour over the glass onto a piece of paper, paper plate, etc. to catch the excess glitter.
- Optional – If you want to do an ombre look, pour glitter on the bottom of the glass first and work your way up, but stop about halfway between the bottom of the glass and where your tape begins. Leave that extra for the second color.
- Optional – Add the second color if you are doing an ombre look.
- Place the glass to the side upside down and allow it to dry for at least an hour. I would typically let them sit longer, but leaving an hour in between didn’t make a difference.
- Repeat steps #4-6. Mod podge over the glitter and reapply more glitter in the areas you want it. As you paint the mod podge over, you’ll notice the paintbrush moves the glitter to blend the two colors more.
- Before you place the glass upside down, carefully remove the tape. I recommend doing this directly over a trashcan because the glitter will go everywhere.
- Once the tape is removed, place the glass upside down again to let dry.
- You will now add the sealing coats to the glitter. Go over all of the glitter carefully with mod podge. Let dry again.
- Go over the glitter one final time and let dry. I like to do the two coats to make sure it is completely sealed, but also the final sealed product is a little smoother with two coats.
Be sure to check out the complete post for tips on this DIY!
Disney Princess Wine Glasses
Below you will find a complete list of the colors of glitter and vinyl used for each Disney Princess. You can use your own design for the vinyl saying.
If you would like to have the same designs as pictured below, you can find the bundle here. You also have the option to have the non-alcoholic version bundle as well!
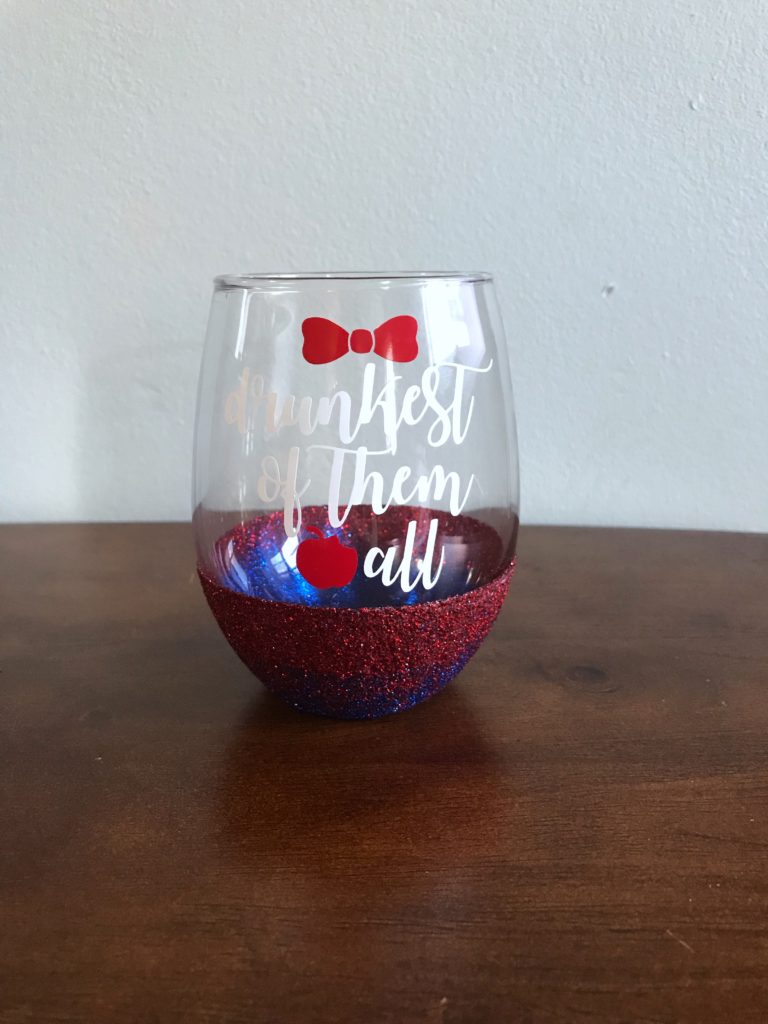
Snow White
- Blue Glitter | Amazon Blue Glitter
- Red Glitter | Amazon Red Glitter
- White Oracal 651 Vinyl
- Red Oracal 651 Vinyl
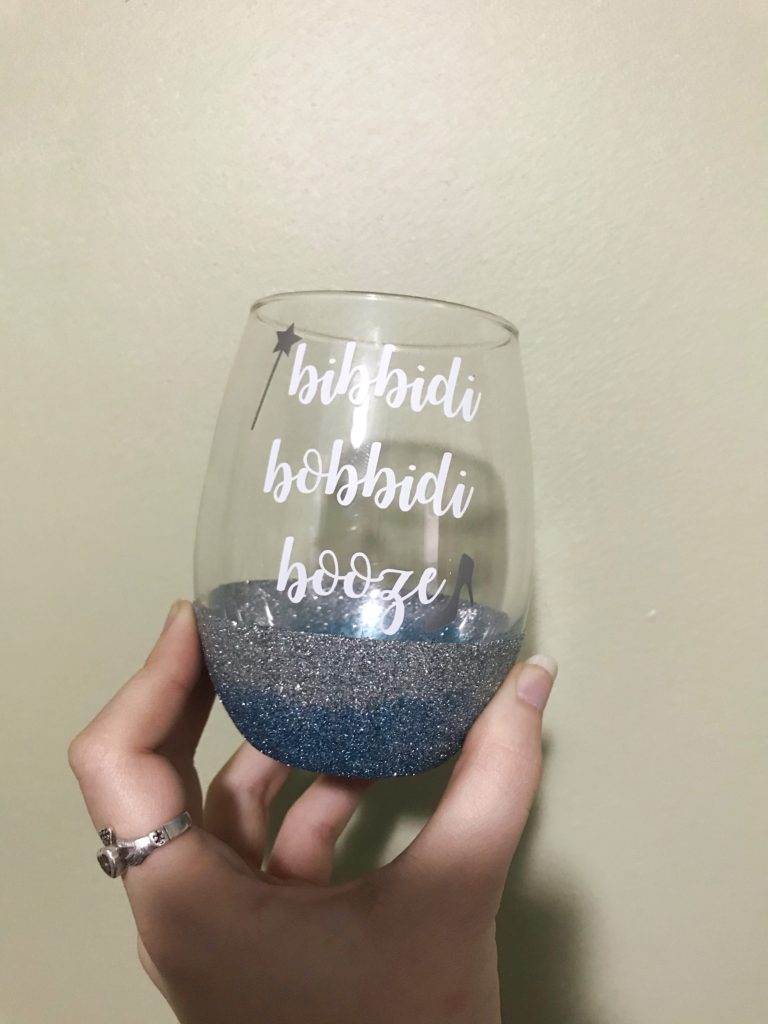
Cinderella
- Ocean Glitter | Amazon Ocean Glitter
- Silver Glitter | Amazon Silver Glitter
- White Oracal 651 Vinyl
- Silver Metallic Oracal 651 Vinyl
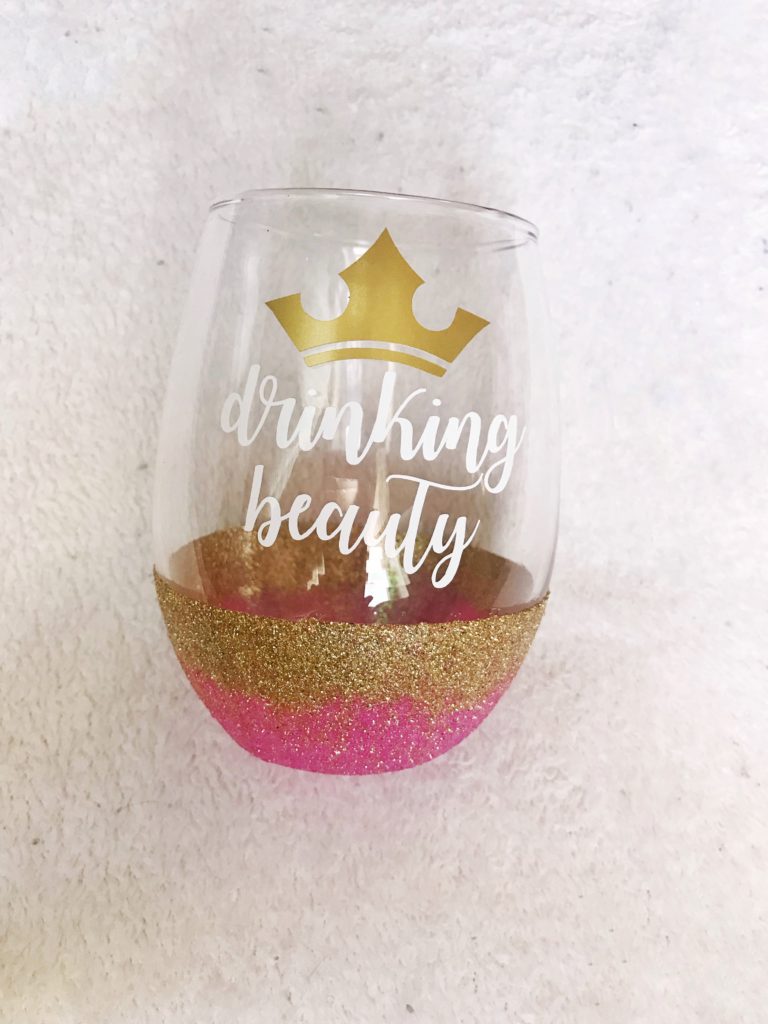
Aurora
- Bubble Gum Glitter | Amazon Bubble Gum Glitter
- Gold Glitter | Amazon Gold Glitter
- White Oracal 651 Vinyl
- Gold Metallic Oracal 651 Vinyl
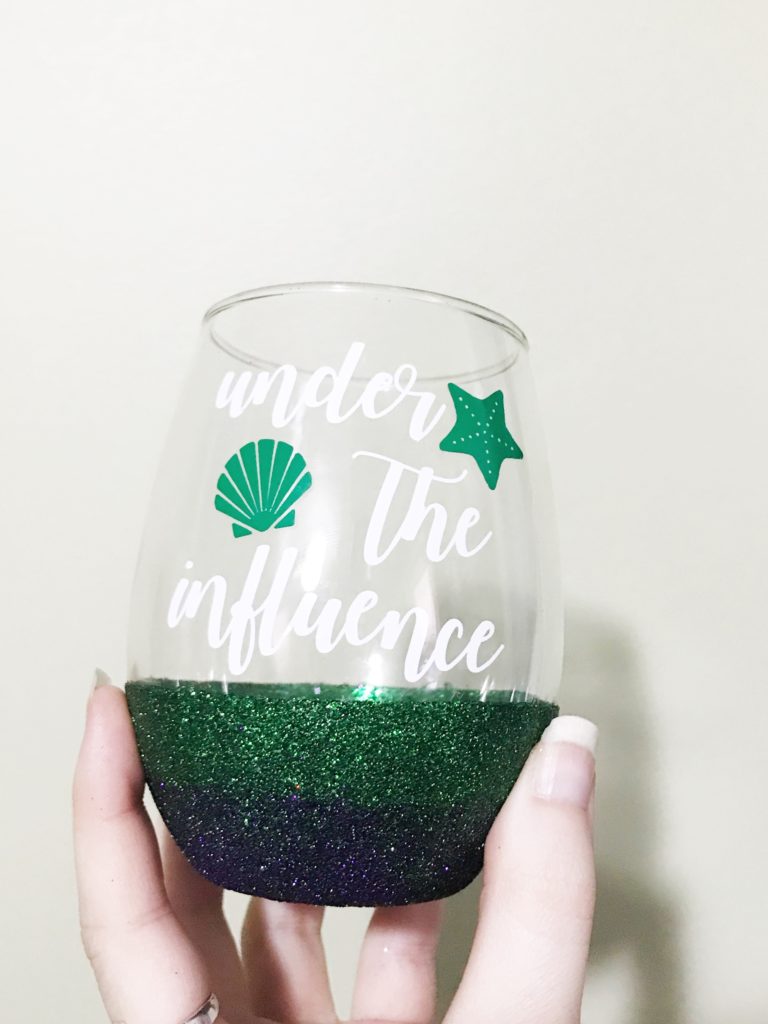
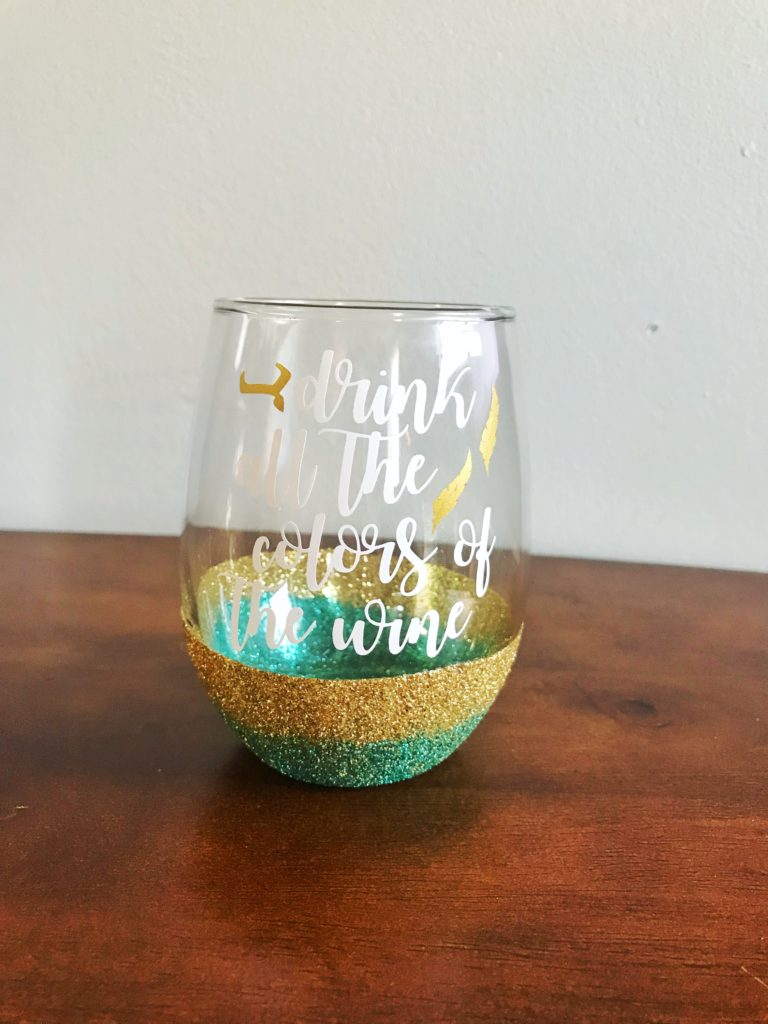
Ariel
- Muse Glitter | Amazon Muse Glitter
- Emerald Glitter | Amazon Emerald Glitter
- White Oracal 651 Vinyl
- Green Oracal 651 Vinyl
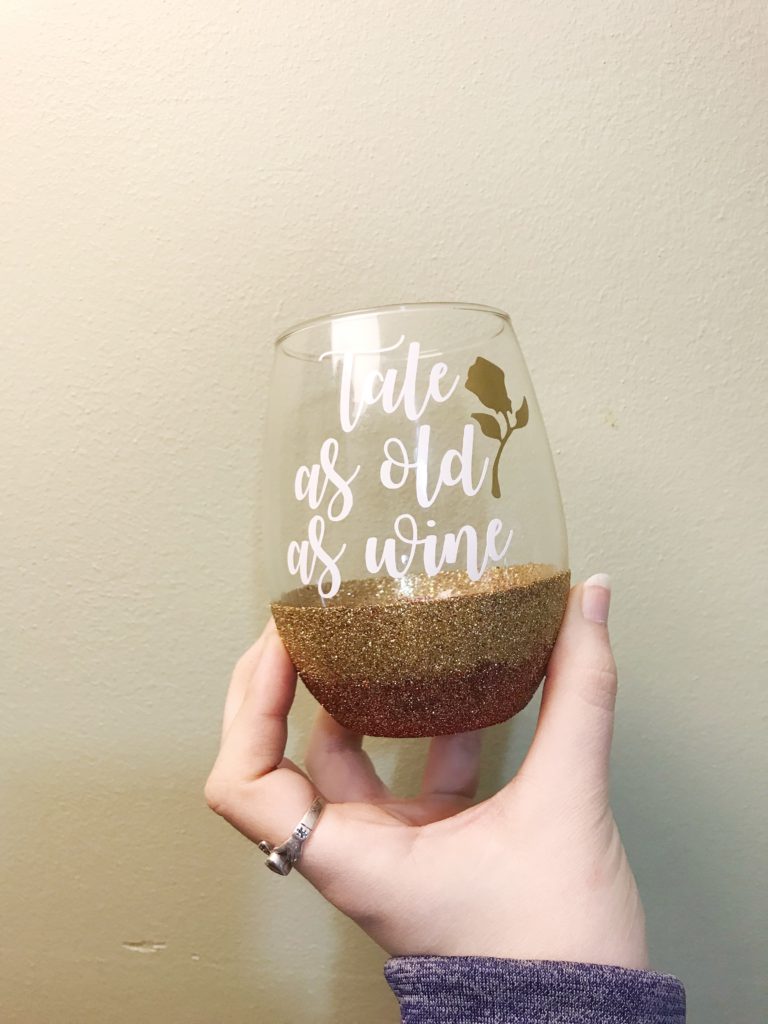
Belle
- Red Glitter | Amazon Red Glitter
- Gold Glitter | Amazon Gold Glitter
- White Oracal 651 Vinyl
- Gold Metallic Oracal 651 Vinyl
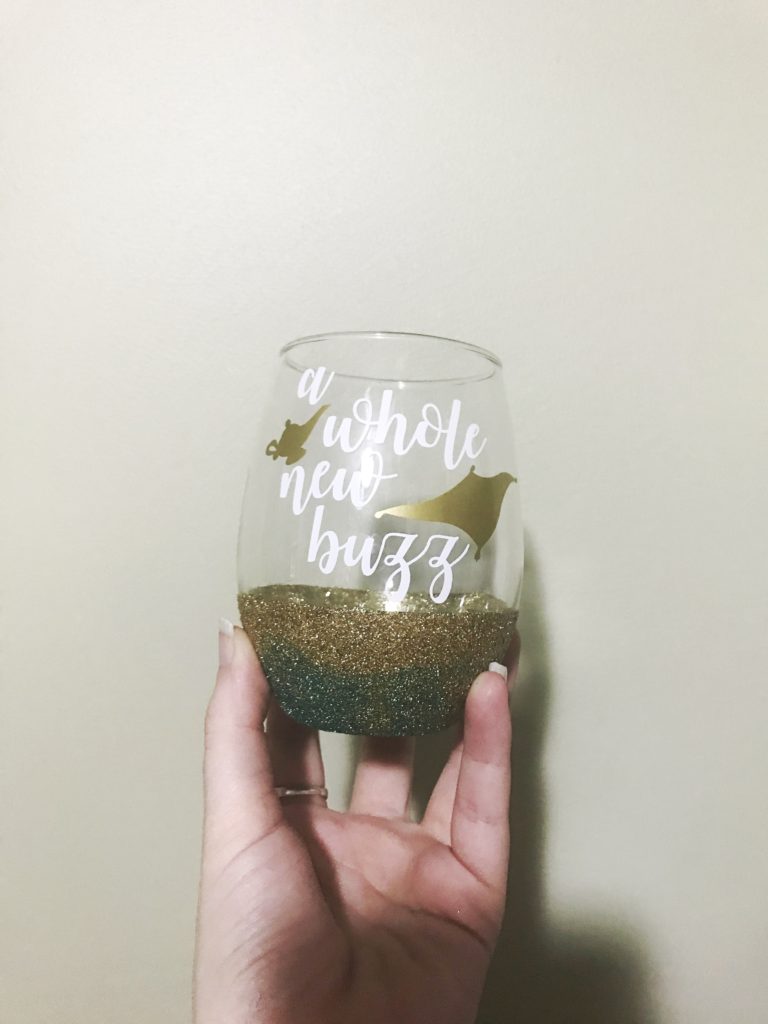
Jasmine
- Paradise Glitter | Amazon Paradise Glitter
- Gold Glitter | Amazon Gold Glitter
- White Oracal 651 Vinyl
- Gold Metallic Oracal 651 Vinyl
Pocahontas
- Paradise Glitter | Amazon Paradise Glitter
- Gold Glitter | Amazon Gold Glitter
- White Oracal 651 Vinyl
- Gold Metallic Oracal 651 Vinyl
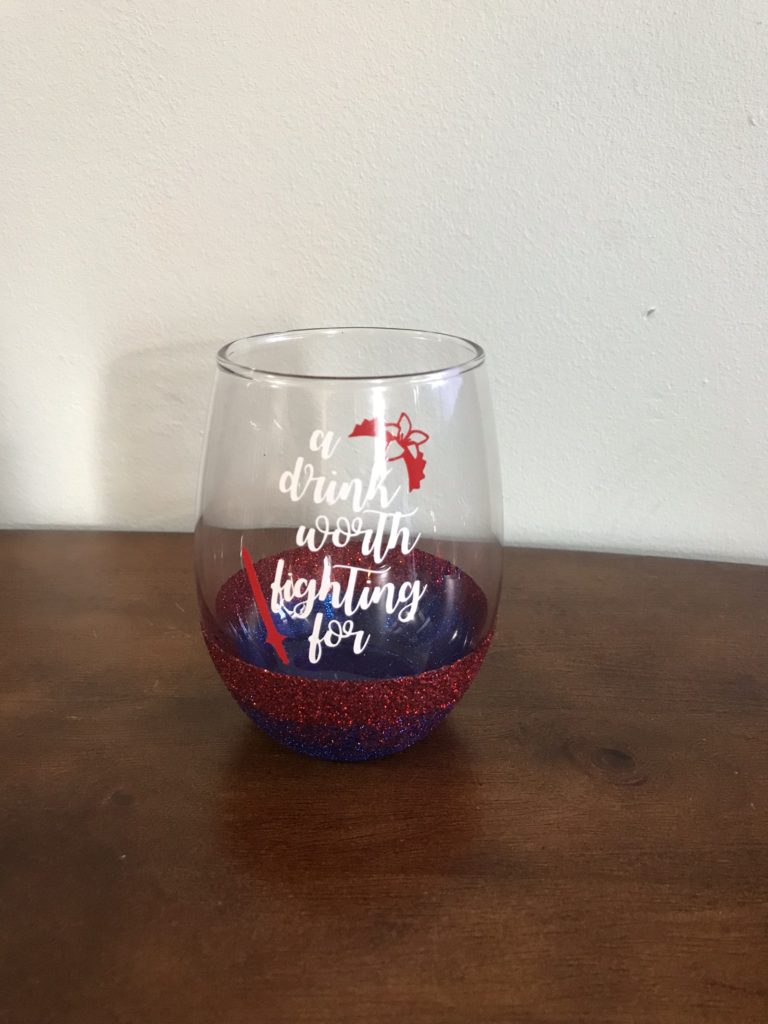
Mulan
- Blue Glitter | Amazon Blue Glitter
- Red Glitter | Amazon Red Glitter
- White Oracal 651 Vinyl
- Red Oracal 651 Vinyl
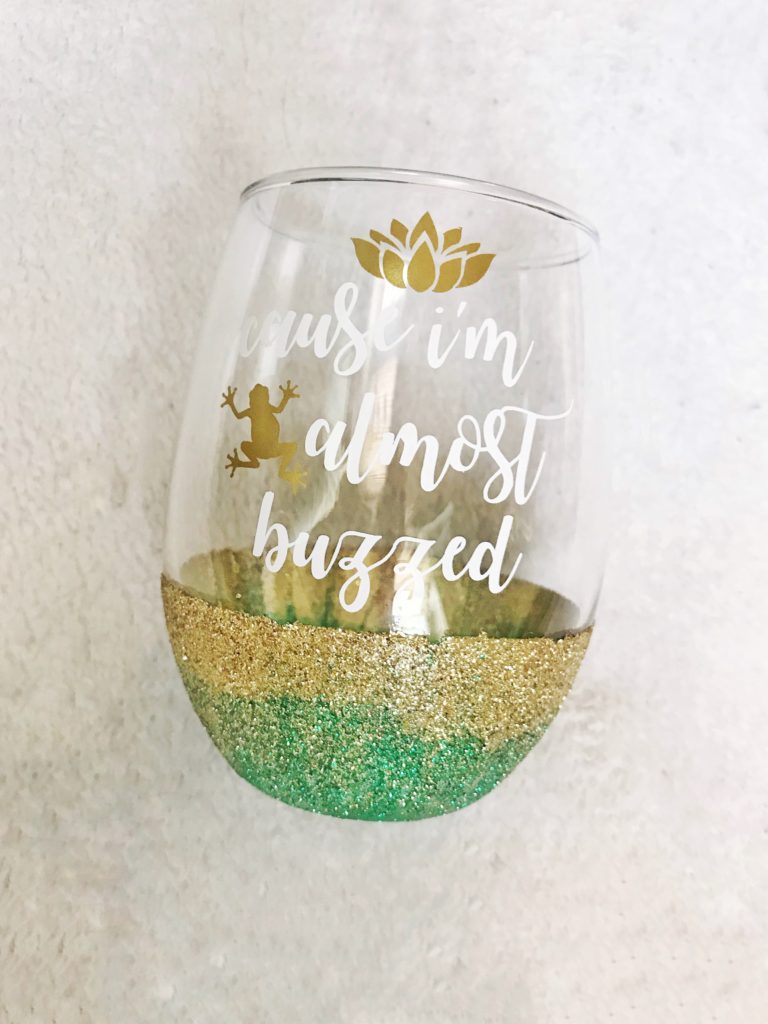
Tiana
- Emerald Glitter | Amazon Emerald Glitter
- Gold Glitter | Amazon Gold Glitter
- White Oracal 651 Vinyl
- Gold Metallic Oracal 651 Vinyl
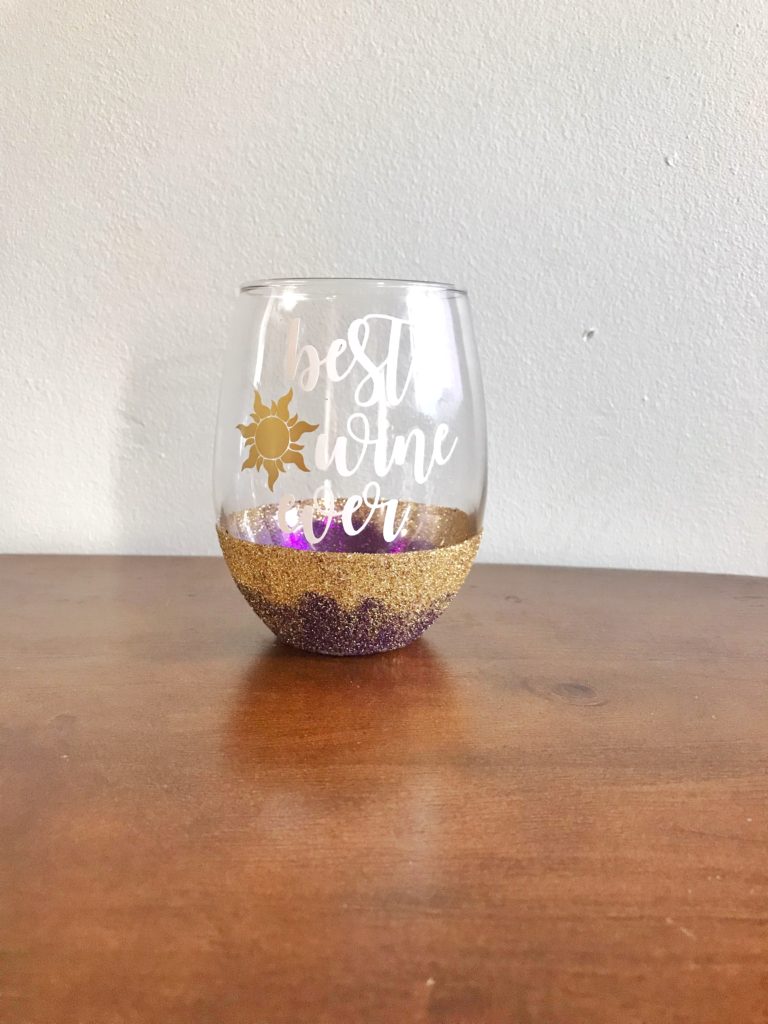
Rapunzel
- Muse Glitter | Amazon Muse Glitter
- Gold Glitter | Amazon Gold Glitter
- White Oracal 651 Vinyl
- Gold Metallic Oracal 651 Vinyl
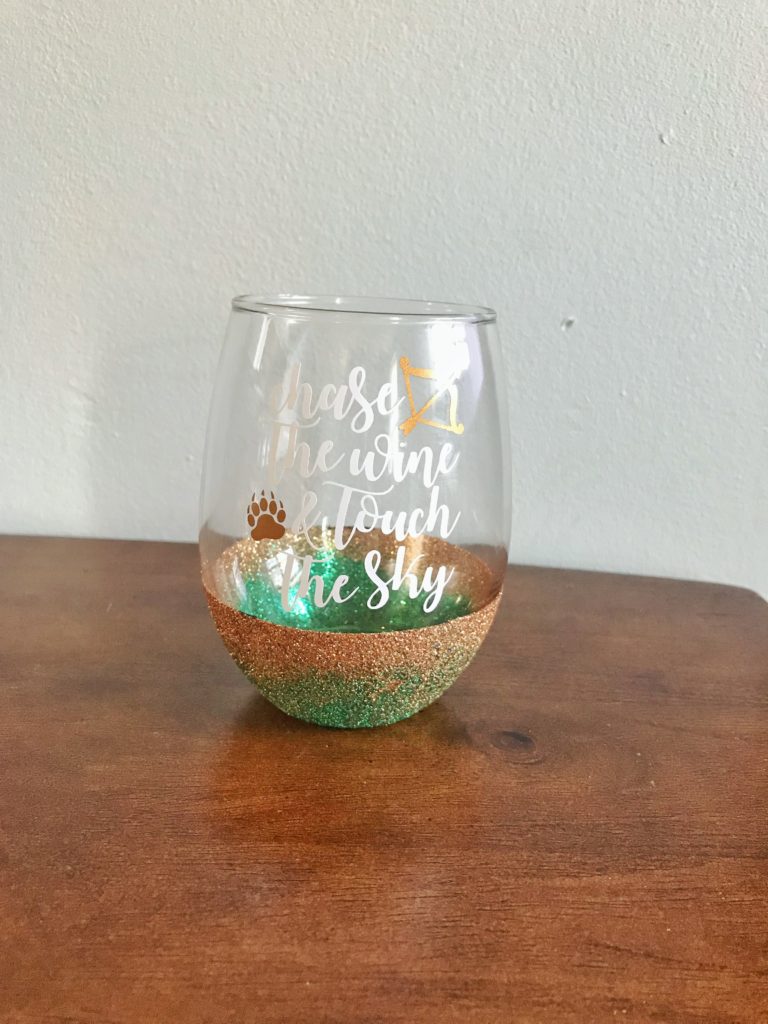
Merida
- Emerald Glitter | Amazon Emerald Glitter
- Copper Glitter | Amazon Copper Glitter
- White Oracal 651 Vinyl
- Copper Metallic Oracle 651 Vinyl

Moana
- Ocean Glitter | Amazon Ocean Glitter
- Silver Glitter | Amazon Silver Glitter
- White Oracal 651 Vinyl
- Silver Metallic Oracal 651 Vinyl
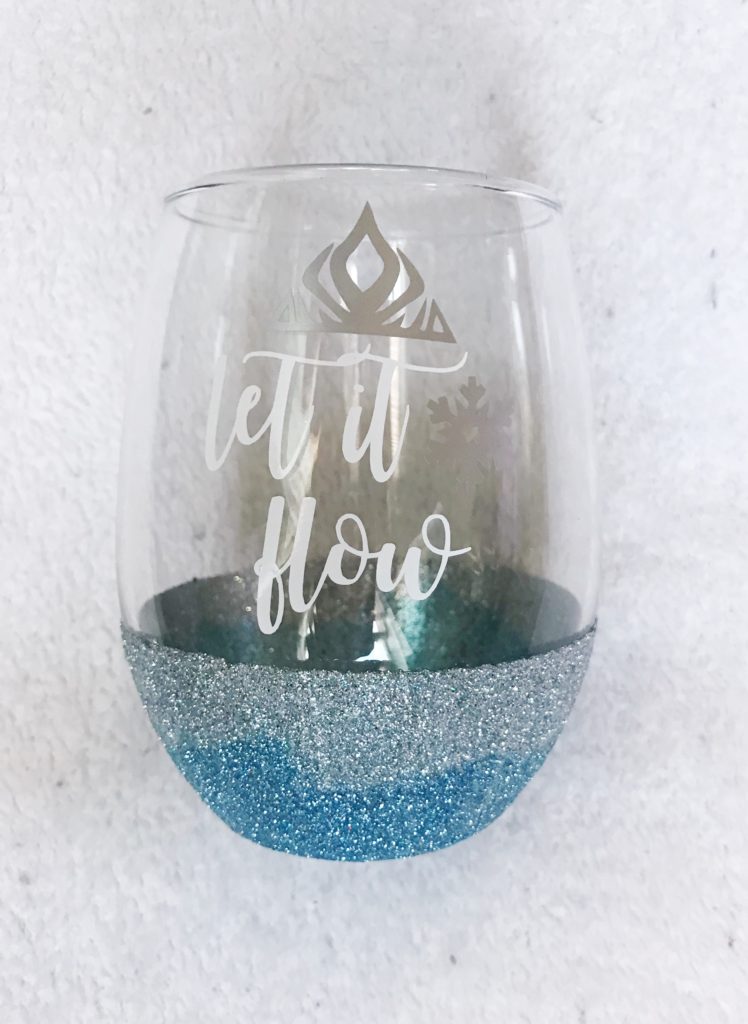
Elsa
- Ocean Glitter | Amazon Ocean Glitter
- Silver Glitter | Amazon Silver Glitter
- White Oracal 651 Vinyl
- Silver Metallic Oracal 651 Vinyl

4 Comments
Kallie
Are these useable? Does the vinyl come off when washing? Did you use the dishwasher safe modge podge?
Kelly
I did use dishwasher safe modge podge, however, I still only wash these by hand. It helps make sure the vinyl lasts for awhile!
Samantha
Do you do mod podge over the vinyl as well?
kellyndoc
No, I just cover the glitter! Using outdoor permanent vinyl helps the design last longer.