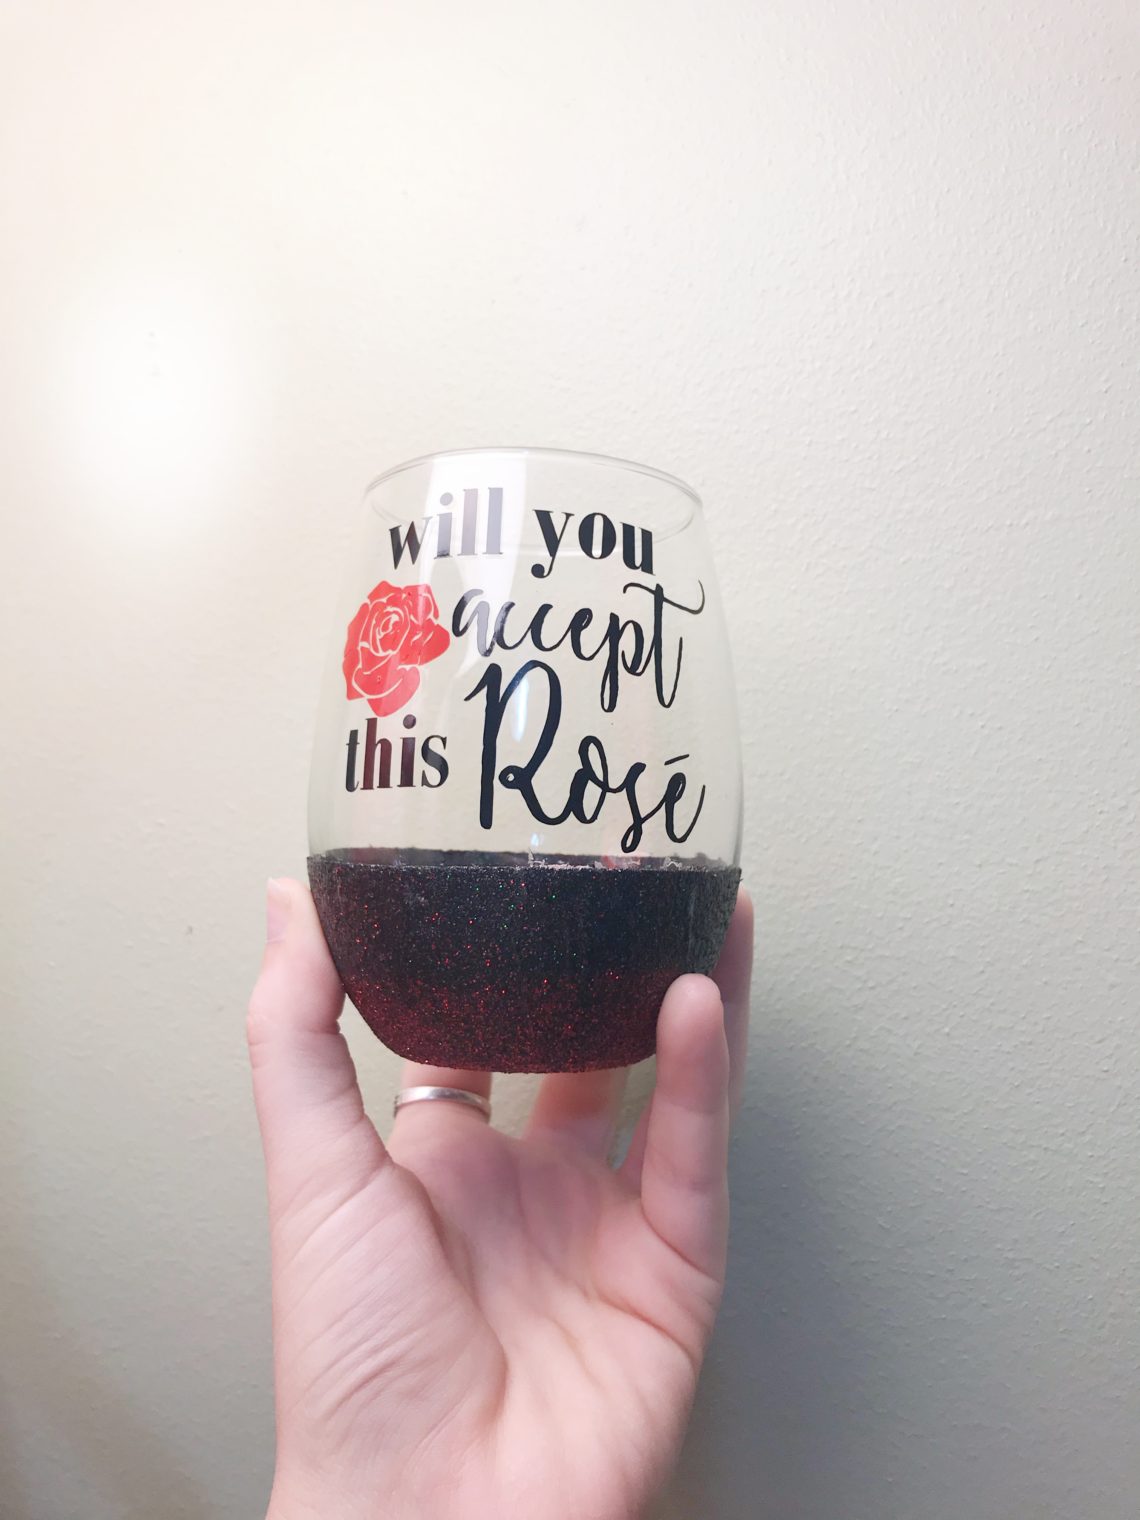
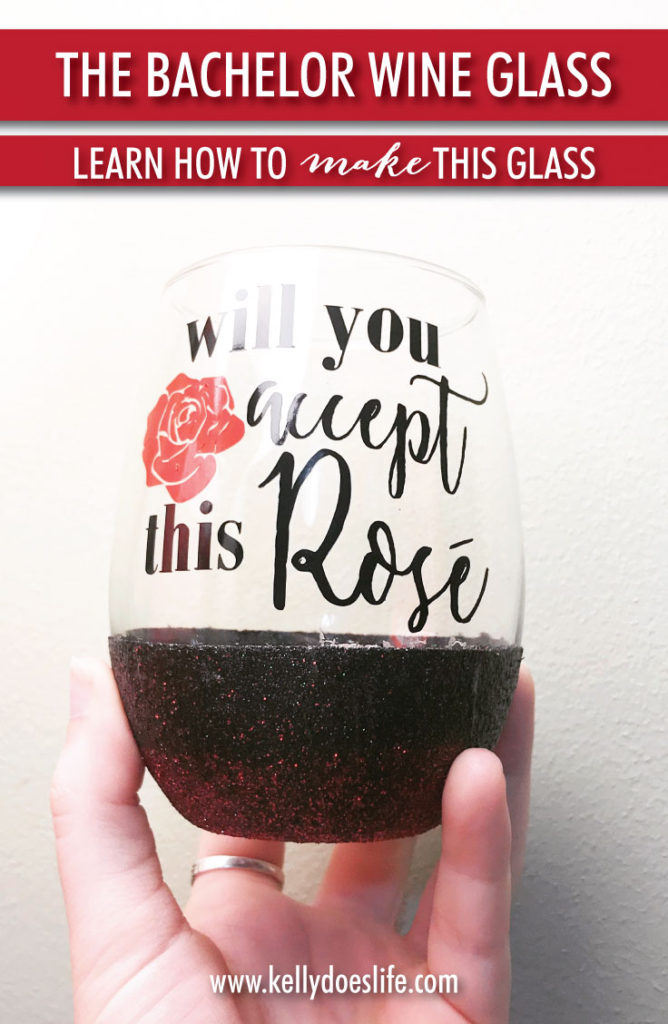
DIY Bachelor Glitter Wine Glass – Will You Accept This Rosé
Will you accept this rosé? One of the most popular phrases from the beloved and addictive show The Bachelor. If you are anything like me, drinking wine during the show is almost a necessity. Why not make your very own glass? This DIY Bachelor glitter wine glass is super easy to make!
There is a full tutorial on how to make ombre glitter glasses on this post. However, below are the materials you would need for this particular craft!
Materials:
-
- Cricut or Silhouette Machine
- Red Extra Fine Glitter
- Black Extra Fine Glitter
- Red Vinyl Oracle 651
- Black Vinyl Oracle 651
- Wine Glasses – I prefer the stemless type, but stemmed work as well!
- Dishwasher Safe Mod Podge
- Paintbrush or foam brush (personally I prefer a regular paint brush)
- Marker
- Washi Tape or painter’s tape
The steps below go over everything you need to know for this craft. I would suggest checking out the full tutorial for extra tips and tricks too!
Steps
-
- To make sure you have a straight edge for the tape, decide how far up you’d like the glitter to go and use a flat surface to mark it with tiny dots using the marker. I typically rest the marker on top of two DVD cases and make four dots around the glass.
- Place the tape on the glass connecting the dots to seal it off. Make sure to press down on the tape after to have it sealed against the glass.
- Take your brush and mod podge and paint the area where you would like to have glitter.
- Select the glitter you would like and begin to lightly pour over the glass onto a piece of paper, paper plate, etc. to catch the excess glitter.
- Optional – If you want to do an ombre look, pour glitter on the bottom of the glass first and work your way up, but stop about halfway between the bottom of the glass and where your tape begins. Leave that extra for the second color.
- Optional – Add the second color if you are doing an ombre look.
- Place the glass to the side upside down and allow it to dry for at least an hour. I would typically let them sit longer, but leaving an hour in between didn’t make a difference.
- Repeat steps #4-6. Mod podge over the glitter and reapply more glitter in the areas you want it. As you paint the mod podge over, you’ll notice the paintbrush moves the glitter to blend the two colors more.
- Before you place the glass upside down, carefully remove the tape. I recommend doing this directly over a trashcan because the glitter will go everywhere.
- Once the tape is removed, place the glass upside down again to let it dry.
- You will now add the sealing coats to the glitter. Go over all of the glitter carefully with mod podge. Let dry again.
- Go over the glitter one final time and let it dry. I like to do the two coats to make sure it is completely sealed, but also the final sealed product is a little smoother with two coats.
Will You Accept This Rosé SVG
You can download the Will You Accept This Rosé file here. It is a zip file including an EPS, SVG, JPG, and PNG. Now you have all you need for your DIY Bachelor glitter wine glass!


One Comment
Victoria Jarman
Hi! Do you sell these by chance? How much to ship to MO?